With the Event Planner feature, you can plan out and schedule events for your club. You can invite members and non-members to attend, arrange online payment, and much more. Events can be created by event chairs, club executives, and site administrators.
Navigation:
Accessing the Events List
Set the Event Details
Event Services & Registration Options
Update & Review Payment Settings
Accessing the Events List
1. To access the Event Planner feature, you must go to your club homepage and log in. Then, click Member Area near the top right.
2. Along the top of the screen you will see several grey tabs. Click on the Events tab.
3. Click Event Planner on the blue menu bar.
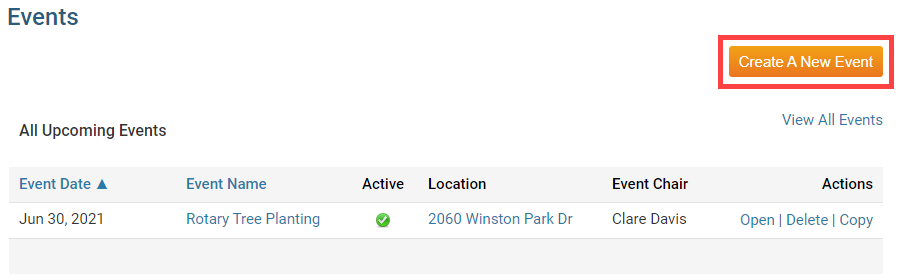
4. You are now on the Events page. To start setting up your new event, click on the Create a New Event button on the right side of the screen.
Set the Event Details
1. You are now on the Create New Event screen, where you can write a description of your event and set up the time and place of the event. First, enter a name for your event in the Event Name field. You also have the option to set the Status of event as Active or as a Draft. An Active event will allow registrations if registrations have been configured. A Draft event will not allow registrations, even if registrations have been configured.
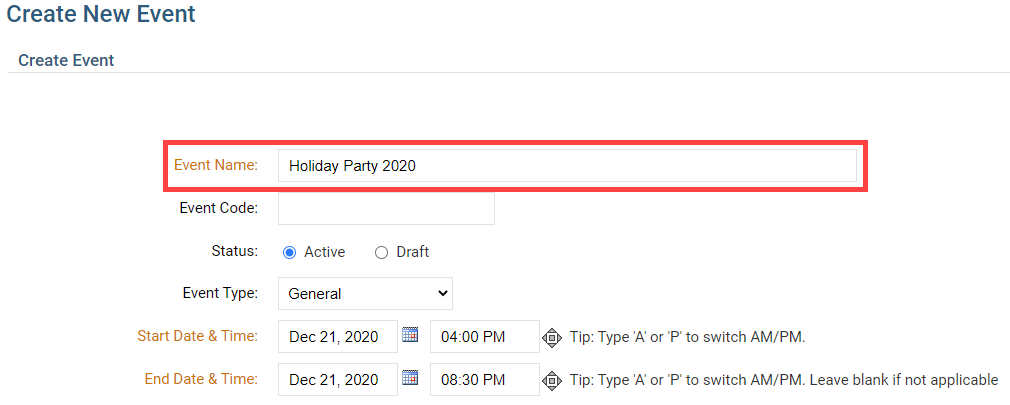
2. Now, if you wish you can enter a unique Event Code. This makes it much easier for you to track member payments for events from within your Sage or Bambora merchant account. You can assign your own Event Code when creating a new event, up to 10 characters long, or add one to an existing event by editing the event details. All payments transactions for that event will have the same code, appended by the unique registration ID, making it much easier to determine who has paid for what.

3. Next you can select the Event Type. The event type lets you pick which type of event you are creating.

The event's color on the calendar depends on which event type you select. See the different colors below:

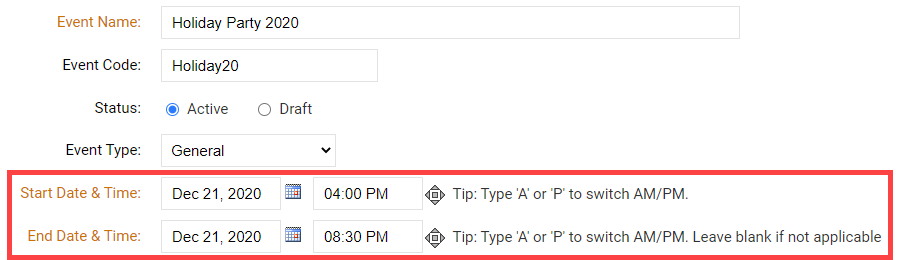
4. Now, you may enter the date of the event. The Start Date & Time specifies the start date and time of the event. The End Date & Time field is where you set the end date and time. Click on the small calendar icon next to the date and time fields to use a pop up calendar to choose a day. The date fields must be filled in, but you may leave the time fields blank if so desired.
5. Once you have set the date and time details, you may enter a description of the event in the text edit field. You can use the buttons above the text field to edit the font size and style and insert special characters.
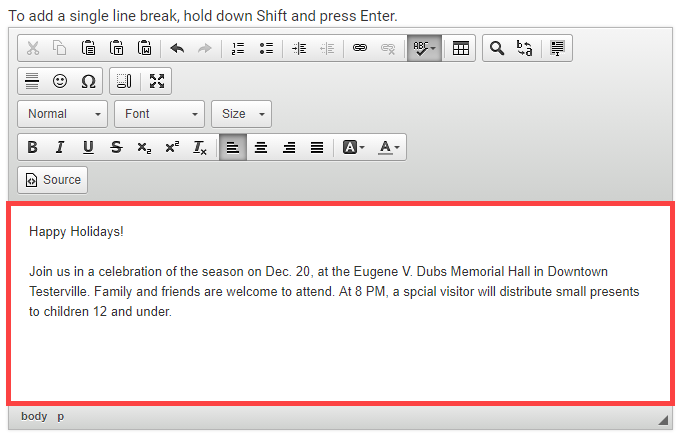
6. Once you have entered a description of the event, you may select an image to be associated with it. This image will appear on the event's information page. To add an image, click on Choose File. You can then select an appropriate image saved on your computer.
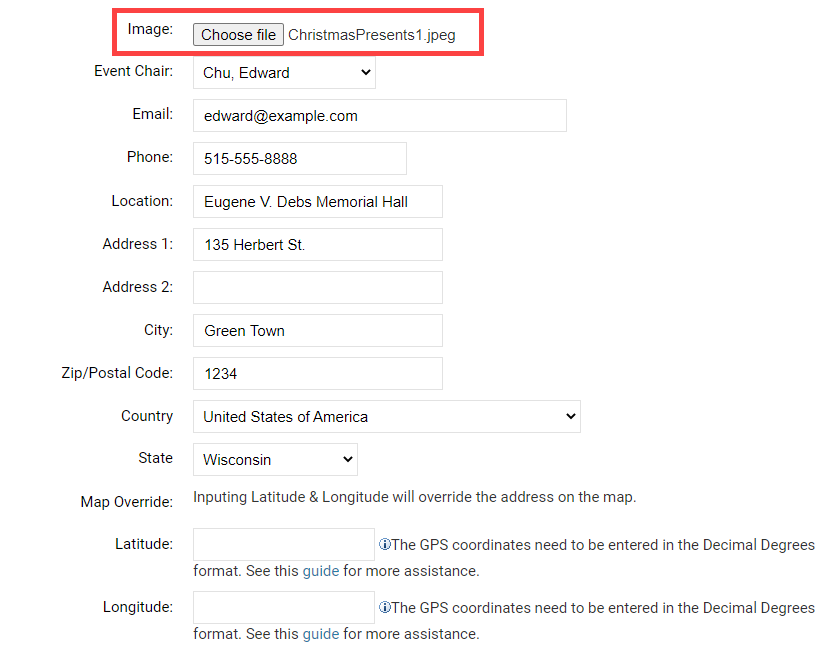
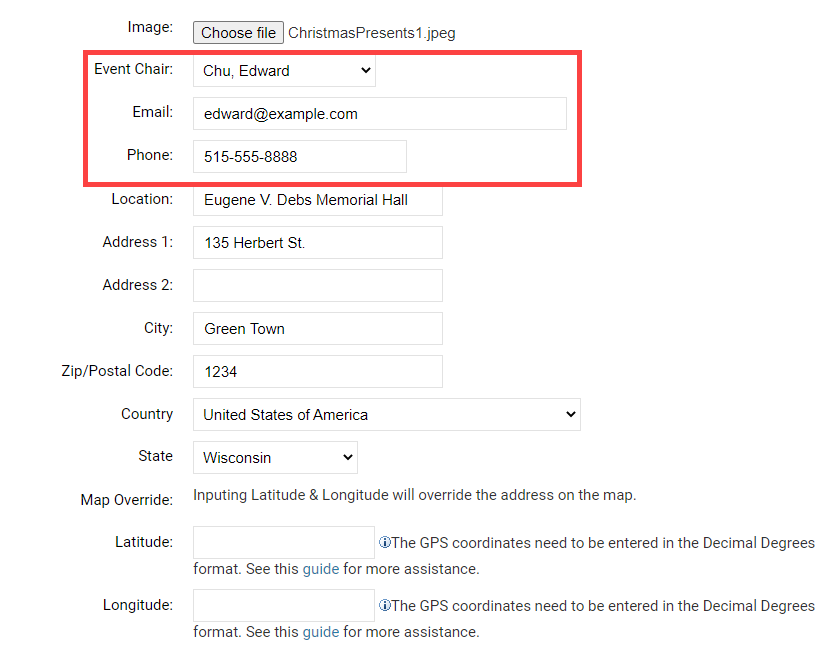
7. You may now select the Event Chair. The chair is the owner of the event. By default, the system will select the member that is creating the event, but you can change this as needed. Selecting a chair will automatically populate the email and phone number fields from the database. However, you can manually re-enter the email and phone number as needed.
8. You may now enter the address of the event in the provided fields. If the address information is complete, then the View Map link will pinpoint the location on the Event Services screen.
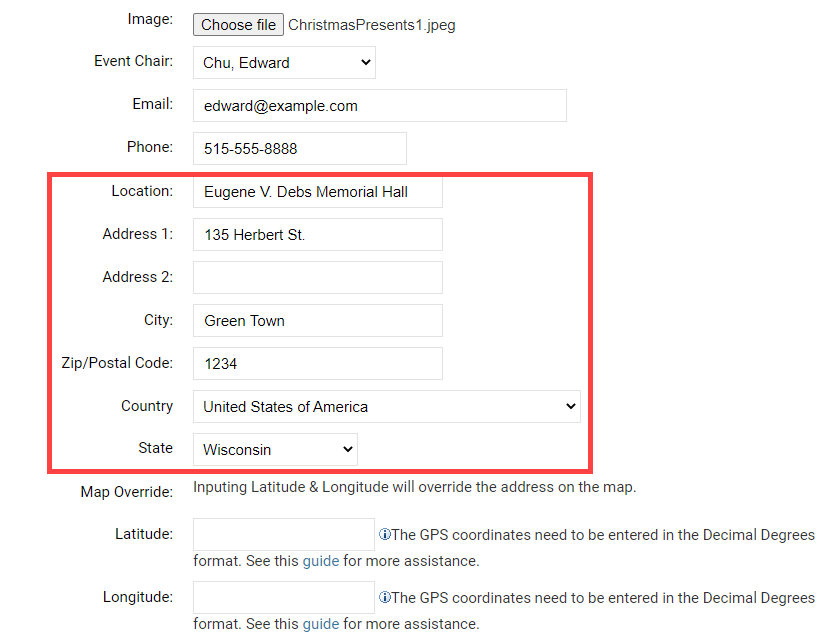
9. If required, you can override the default location that the Google maps pin will show on the event's page by entering in Google Maps Latitude and Longitude.
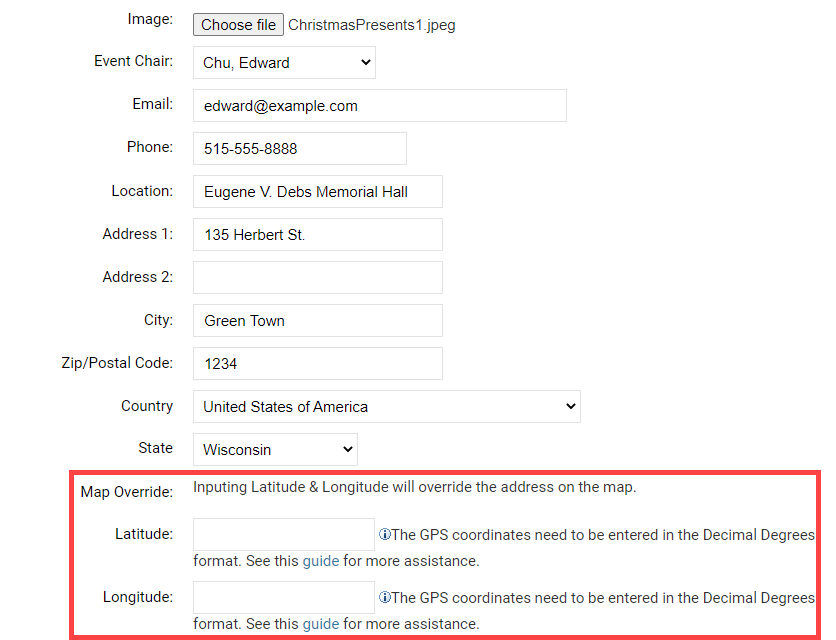
For help finding your Latitude and Longitude, please see our guide: How to find a location's Latitude & Longitude in Google Maps.
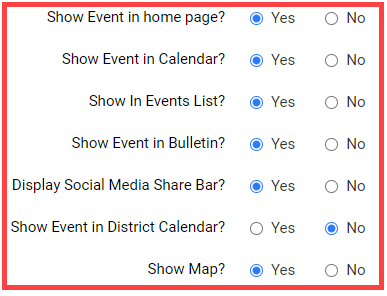
10. Next, you can click on various fields that determine where the event will be displayed.
- Show Event in home page: This field gives the event chair the option to display the event on the homepage. Please note however, the event widget must be on the homepage for this option to display the event. Selecting No will hide the event from the home page.
- Show Event in Calendar: This field gives you the option to display the event on the mini calendar on the homepage and built-in Events Calendar page in the Calendar view. The mini calendar widget must be on the homepage for this option to display the event. Selecting No will hide the event from the mini calendar and from the built-in Events Calendar page in the Calendar view.
- Show Event in Events List: This field gives you the option to display the event on the built-in Events Calendar page in the List view. Selecting No will hide the event from the List view of the Events Calendar built-in page.
- Display Social Media Share Bar: This gives you the option to add a share bar wherever the event is displayed. With this toolbar, members can share details of the event through social media sites such as Facebook and Twitter.
- Show Event in Bulletin: Click Yes to display the event on your club's weekly bulletin, provided you have included the events widget in the bulletin. Select No to hide the event from the Bulletin.
- Show Event in District Calendar: Click Yes to display the event on the district calendar. Select No to hide the event.
- Show Map: Click Yes to display the event's location in a Google Map, on the event's registration page. Select No to hide the embedded map from appearing on the event's registration page.
11. Finally, click Save at the bottom of the screen. Or, if you wish to discard the event details, click Cancel.
Event Services & Registration Options
1. Once you have saved the event, you are taken to the Event Services screen. Here, you can review and edit the details of your event, as well as set up registration, payment and invitation details. You can use the three buttons next to your event details to add or change aspects of the event.
- Edit Details: This link will take the event chair to the details of the event from where they will be able to edit the date and time, select a new event chair, etc.
- Edit Links: This link will allow the event chair to add links for the event. The added links will be displayed on the homepage event right under the image.
- Edit Download Files: This link will allow the event chair to add files that registering members may want/need before registering for an event. The added download files will be displayed on the homepage event right under the related links.
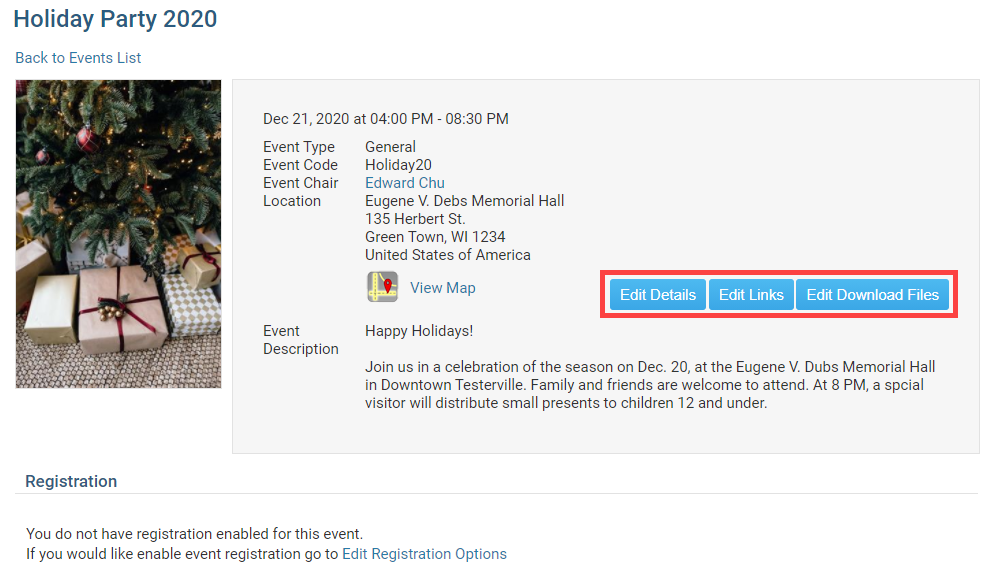
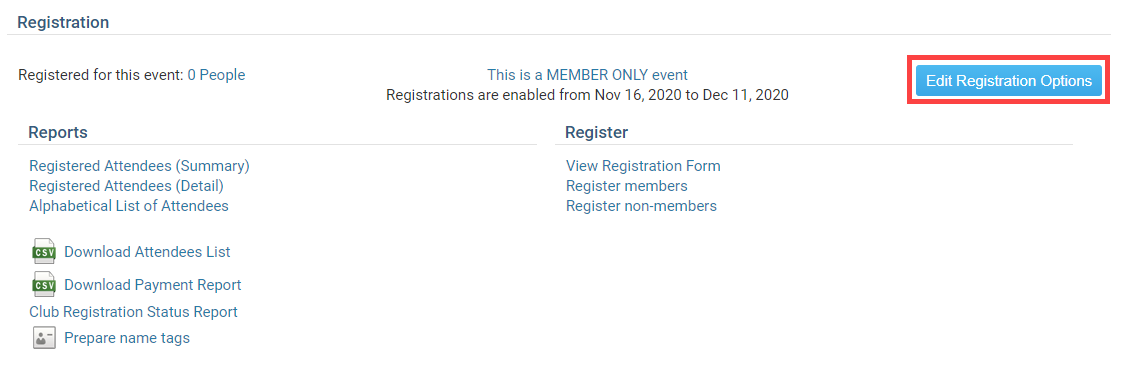
2. In the next section of the page, you can set up the registration details for your event. Registration defines when members can sign up for the event. If no registration is setup then no one will be able to sign up. To configure your registration options, click on the Edit Registration Options button.
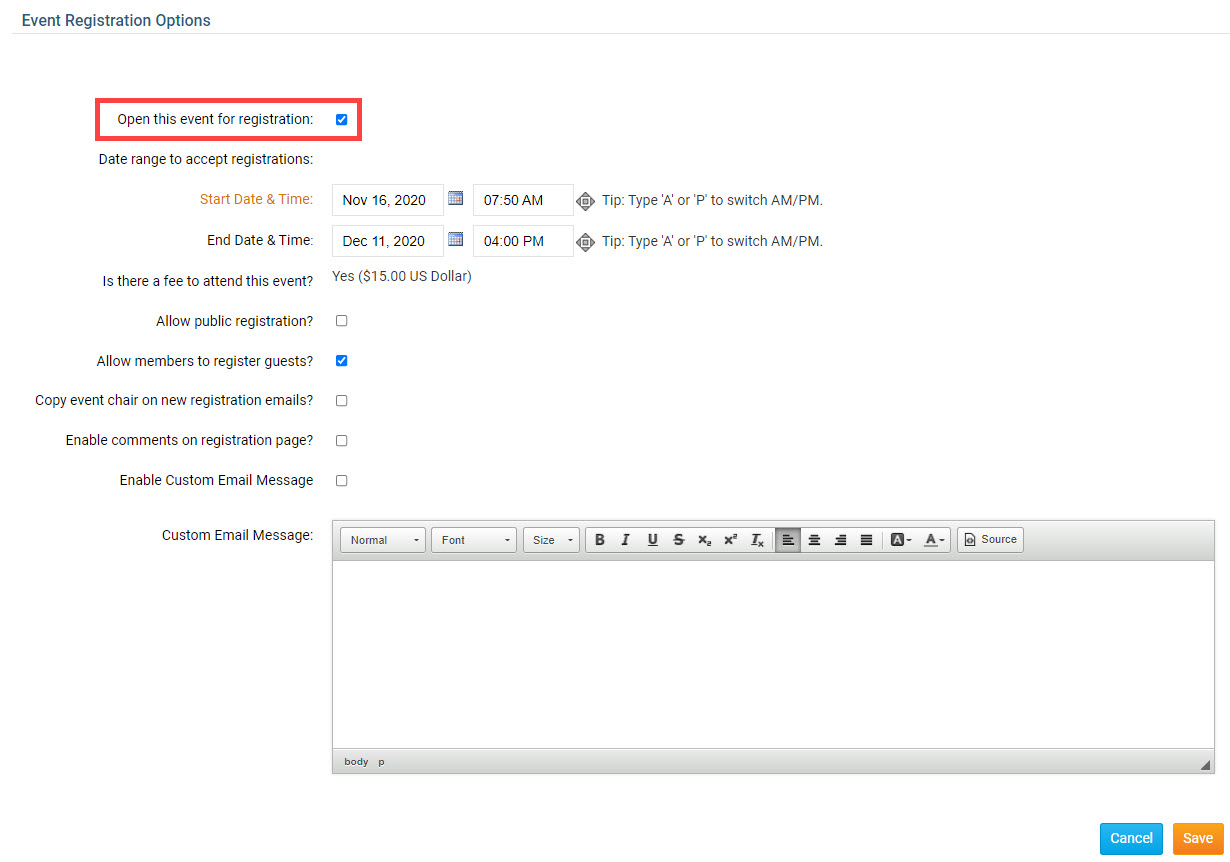
3. You are now on the Event Registration Options page. Your first option is to decided whether or not registration should be opened as indicated by the Open this event for registration box highlighted below. This box is checked by default, indicating that registration is indeed open. To close registration for the time being, uncheck the box.
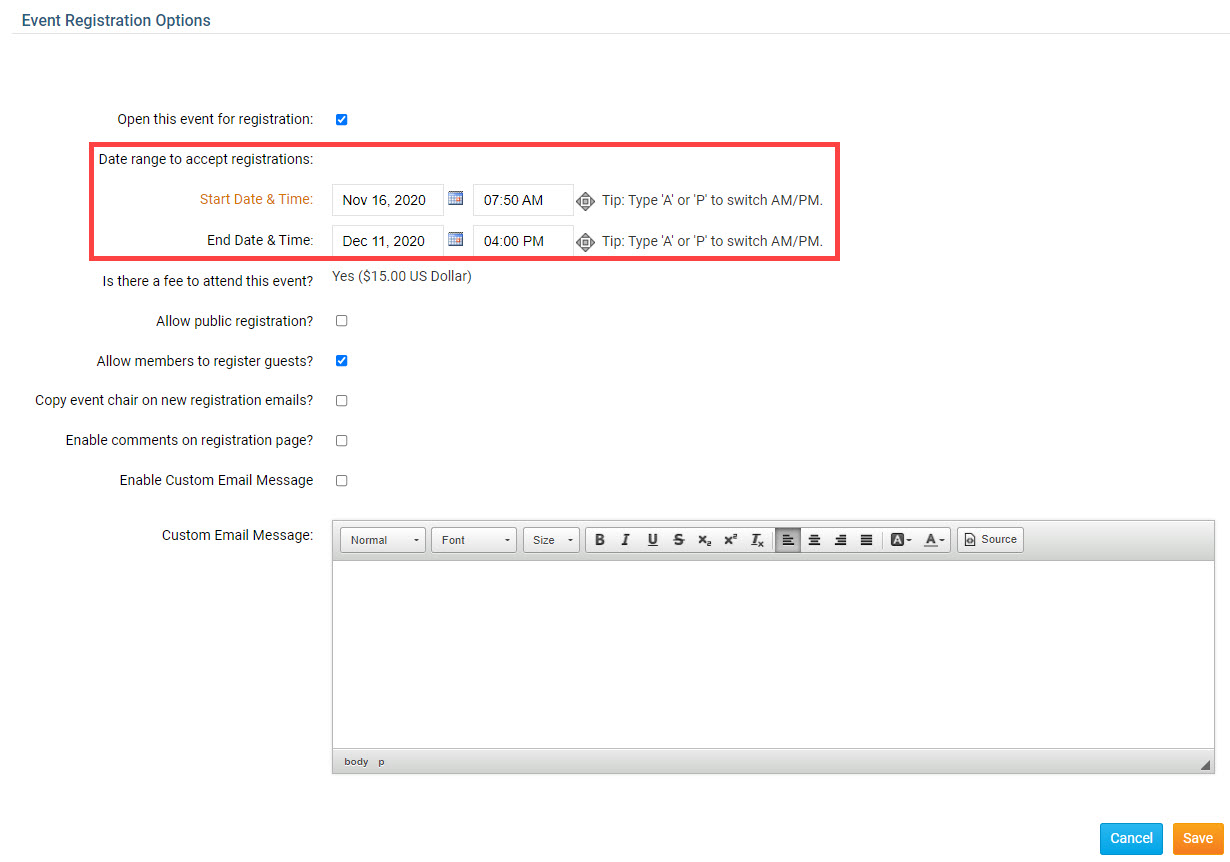
4. You may now enter the Start Date & Time, when registration for the event will open, and the End Date & Time, when registration closes. Members can no longer register online after the end date.
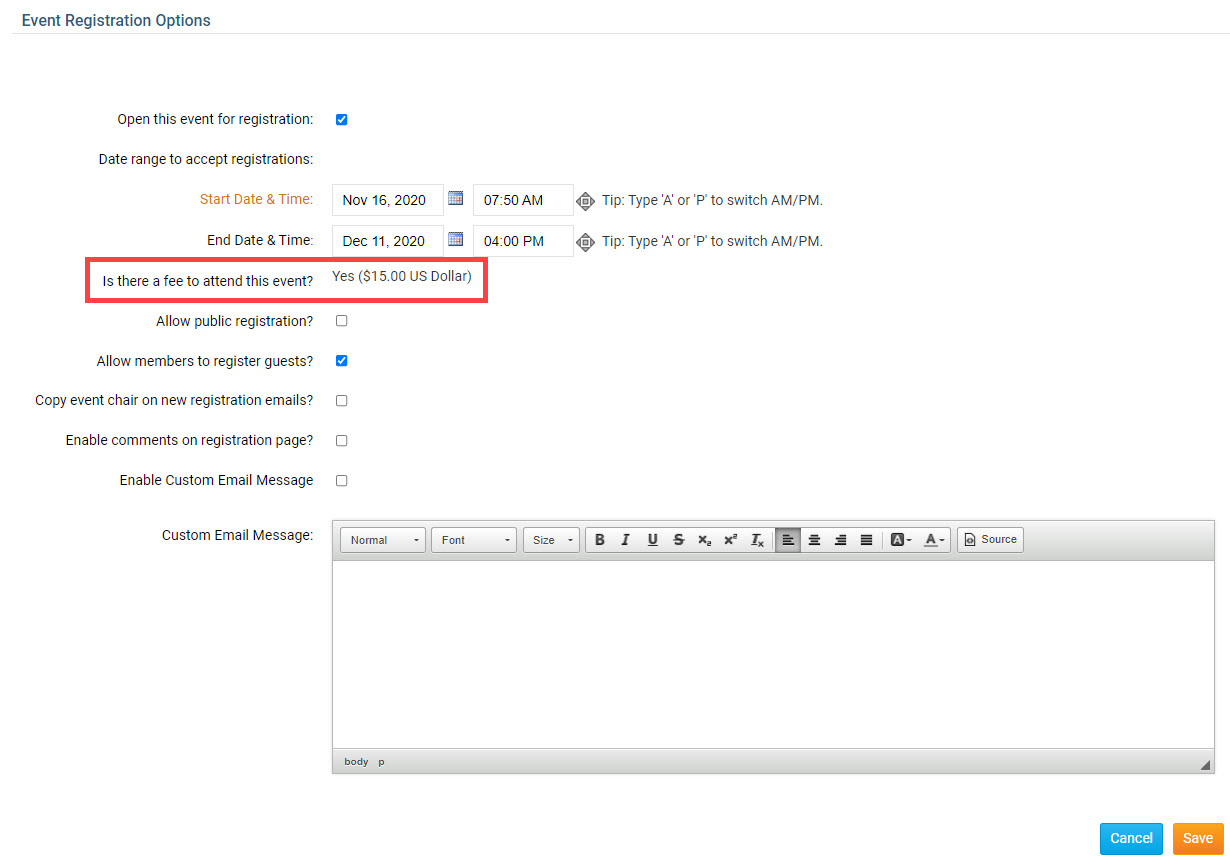
5. The next field, Is there a fee to attend this event? is for your own information. By default, an event is free. In this example, the event has a cost of $15 USD. You can set up a fee (if desired) in the Payment Settings section of the page.
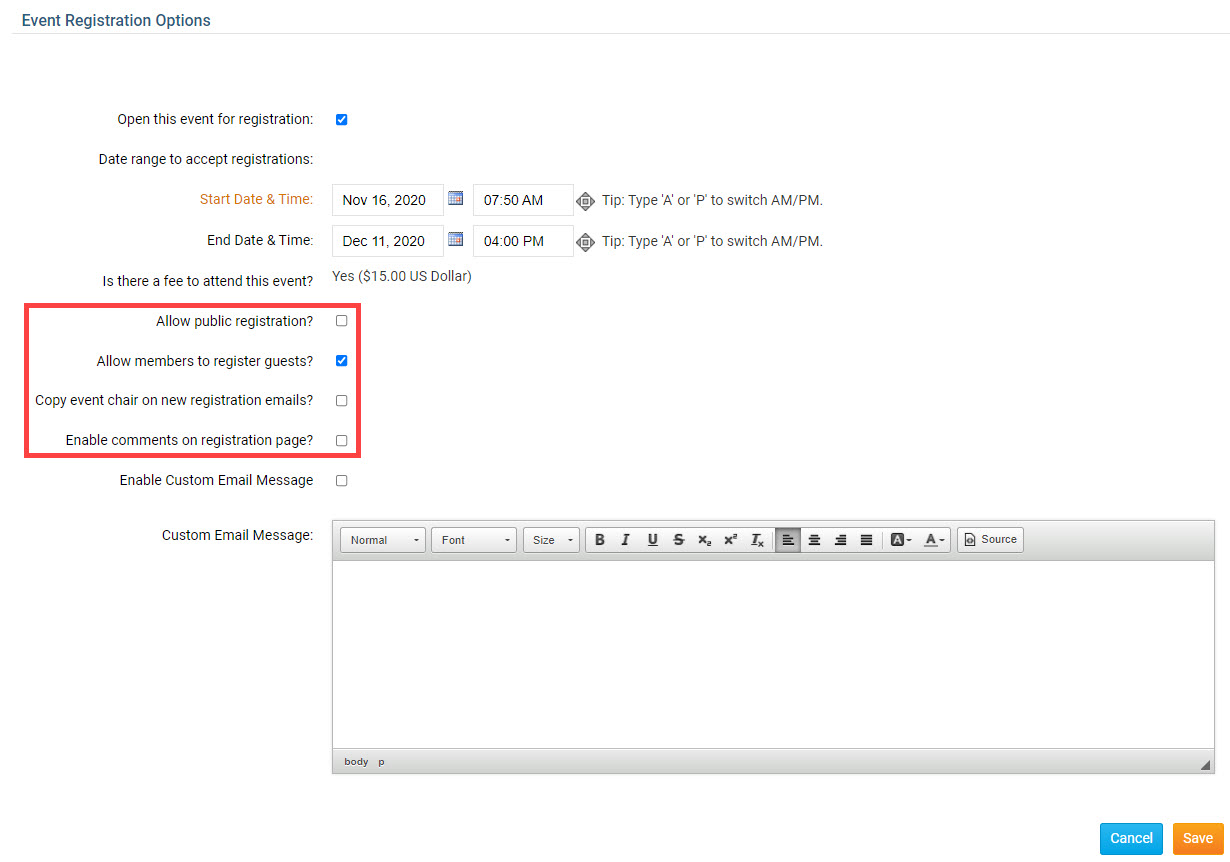
6. The four registration options below allow you to determine who can attend the event and how registrations are communicated to the chair.
- Allow public registration: If this option is checked then non-members will also be able to register for the event. If the option is not checked then only members of the club may register for the event.
- Allow members to register guests?: If you check this option, members will be able to register non-member guests.
- Copy event chair on new registration emails?: When this option is checked, the event chair is informed of new registrations as they come in, via email.
- Enable comments on the registration page?: If this option is checked, members and non-members may leave comments on the registration page when they register.
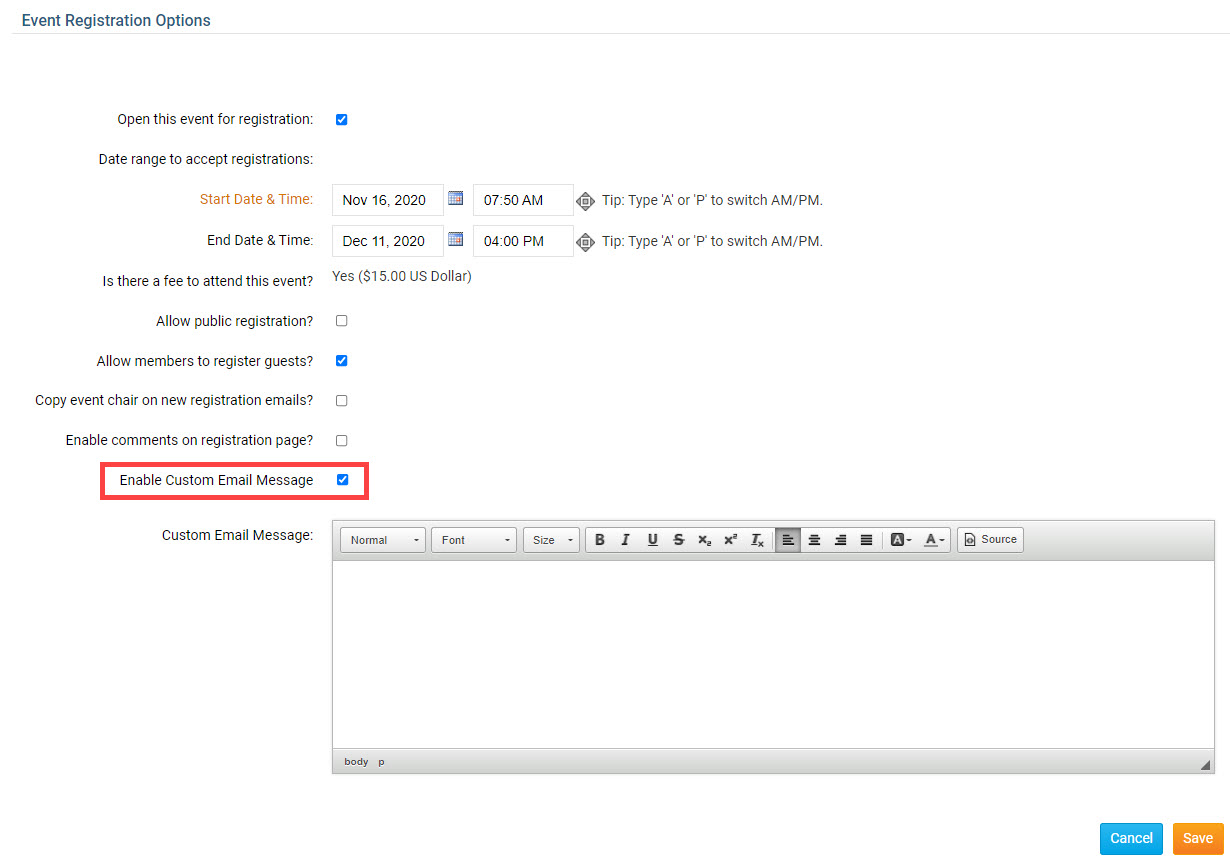
7. After setting the registration options, you have the option to set a custom confirmation email message for the registrants. To enter a custom confirmation email for the event, check the Enable Custom Email Message checkbox.
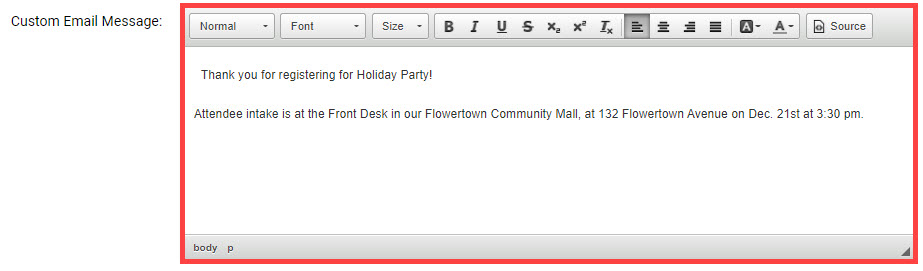
8. If you have checked the Enable Custom Email Message checkbox, enter the custom confirmation email for the event into the Custom Email Message text box.
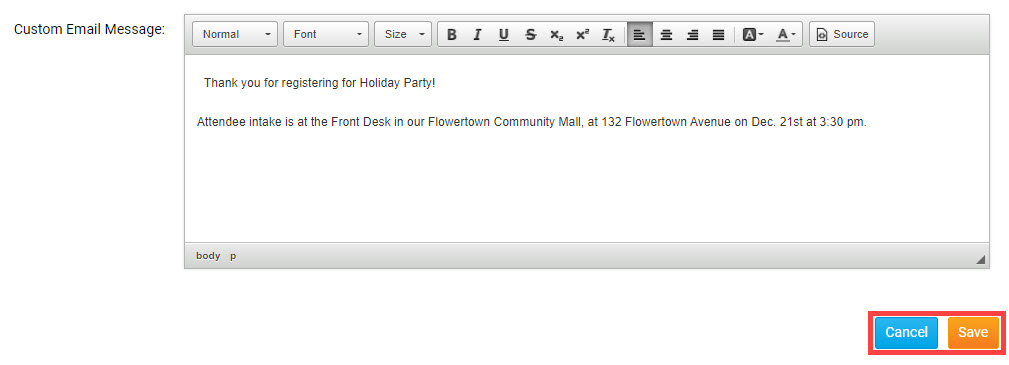
9. When you have completed editing the registration details and optional custom confirmation email, click Save to proceed. Or, to discard the information you have entered, click Cancel.
Update & Review Payment Settings
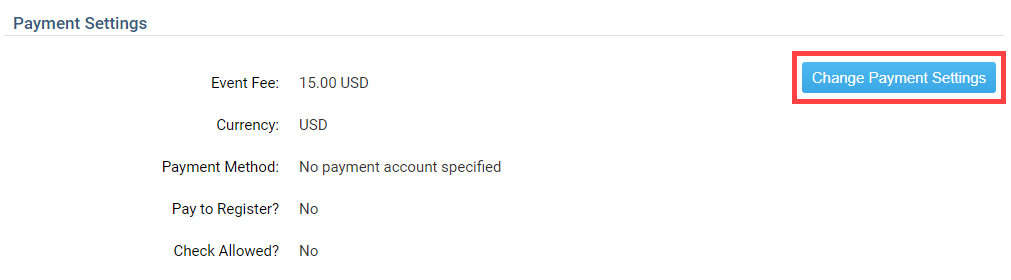
1. When you click Save, you are brought back to the Event Services page. Scroll down to the section marked Payment Settings. Here, you can set a fee for the event and manage payment details. By default, events are set to free. Click on the Change Payment Settings button to set a fee, or edit existing payment details.
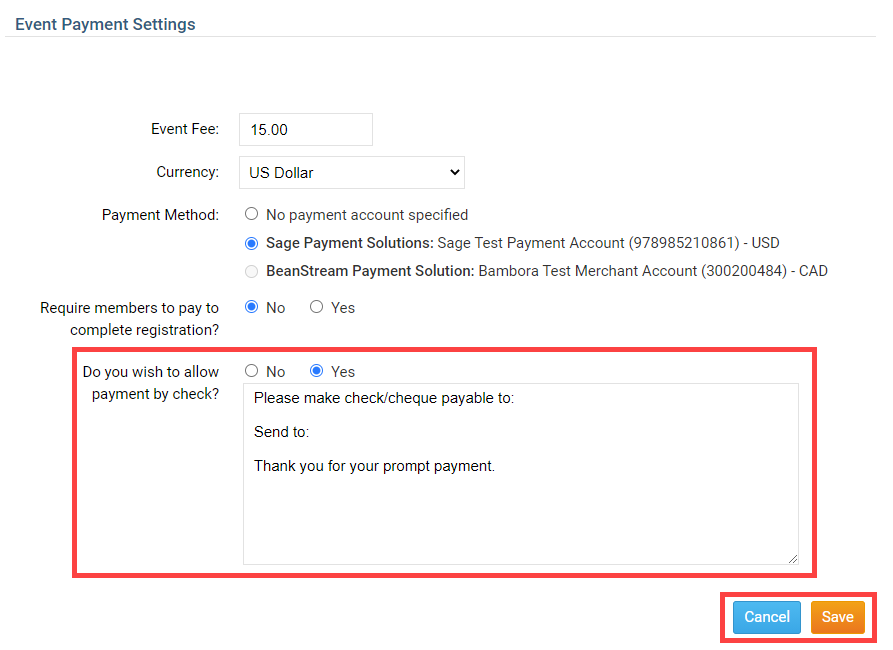
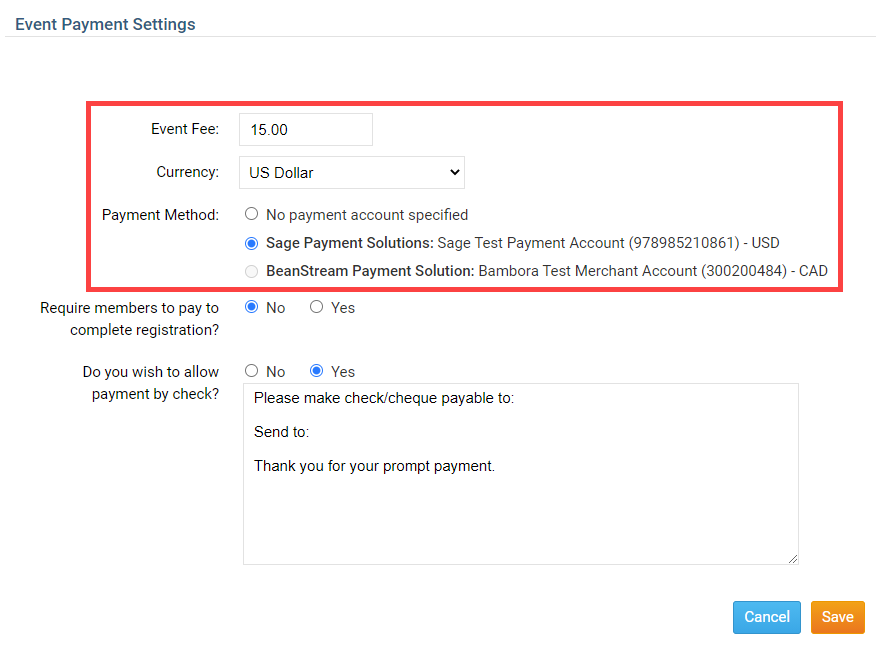
2. Now, you may enter your event fee details, if any. First, enter the cost of the event into the Event Fee field. Then, click on the drop down box to select the appropriate currency for payment. Finally, if you have the Online Payment & eCommerce module set up for your club, you will see Payment Method as a selectable option. If you do not have this module, then you will only have the No Payment Account Specified option available only.
Note: To find out more about the Online Payment & eCommerce module, U.S. customers can click here and Canadian customers can click here.
3. The Require members to pay to complete registration option forces the member to pay by credit card first in order to register for the event.
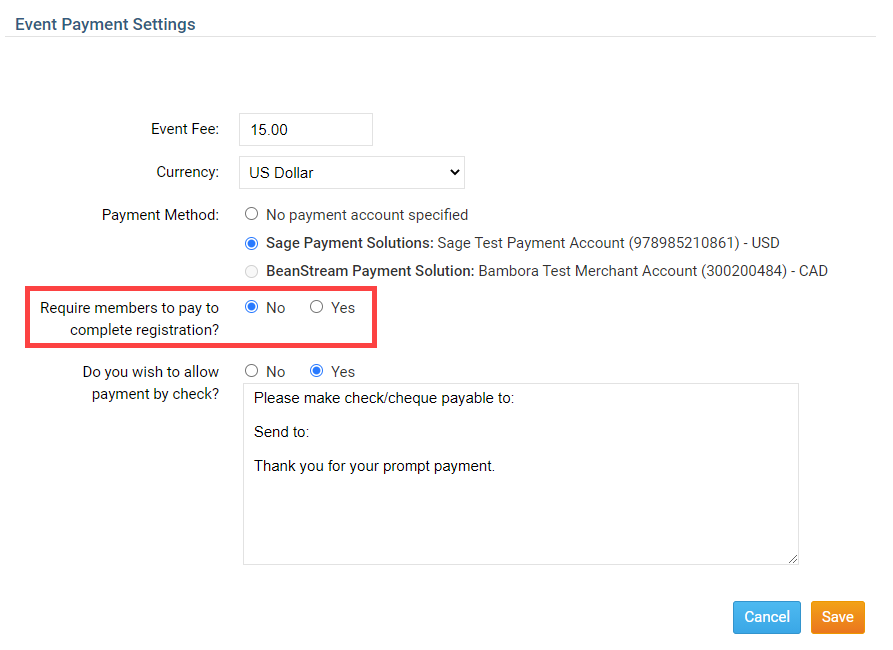
4. Your club also has the option accept payment by check. In the next window, you can enter check payment details. When you are finished setting payment options, click Save to finish, or Cancel if you wish to discard the information you have entered.