Events Planner permits you to take registration payments by credit card or check, and also lets you track payments made in person in cash.
Online Payment and eCommerce for USA
Online Payment and eCommerce for Canada
1. To access Events Planner feature, you must go to your club's homepage and login. Then, click on Member Area on the top right.
2. Along the top of the screen you will see several tabs. Click on the Events tab on the far right of the top toolbar.
3. At the left side of the screen, options will appear. Click on Event Planner.
4. You are now on the Events page. Select an event and click on the name.

5. This brings you to the event details page. At the top of the page you'll see some basic details about the event. Under this, you'll see a number of event options. Scroll down the page to the section under the heading Payment Settings.

6. Click Change Payment Settings to set up payment options.

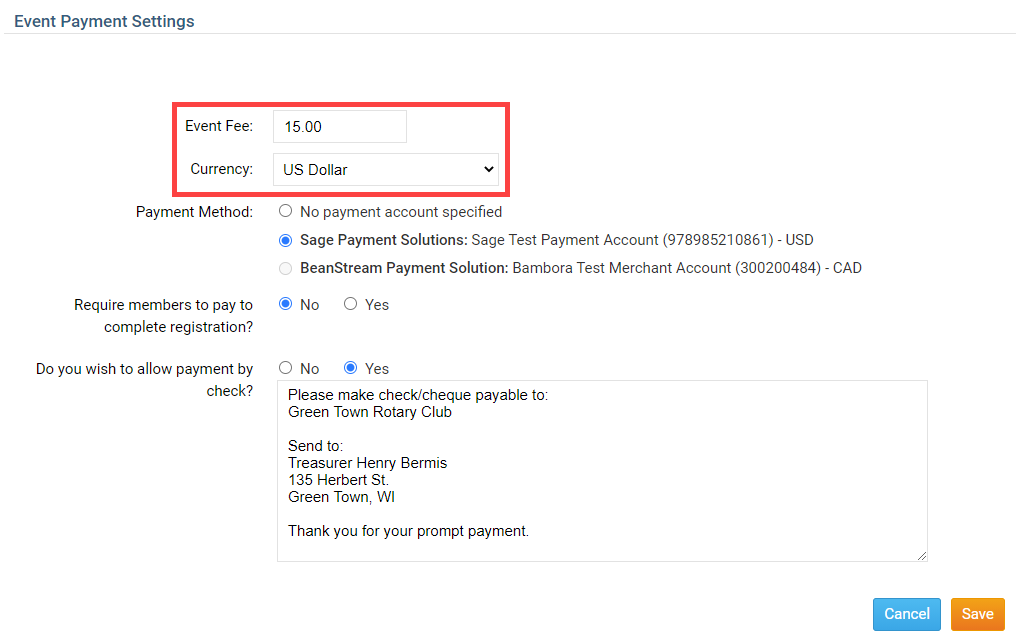
7. You can now set the cost of the event, and select payment methods. Enter the cost of the event in the field marked Event Fee. Then, select the appropriate currency from the drop down menu.

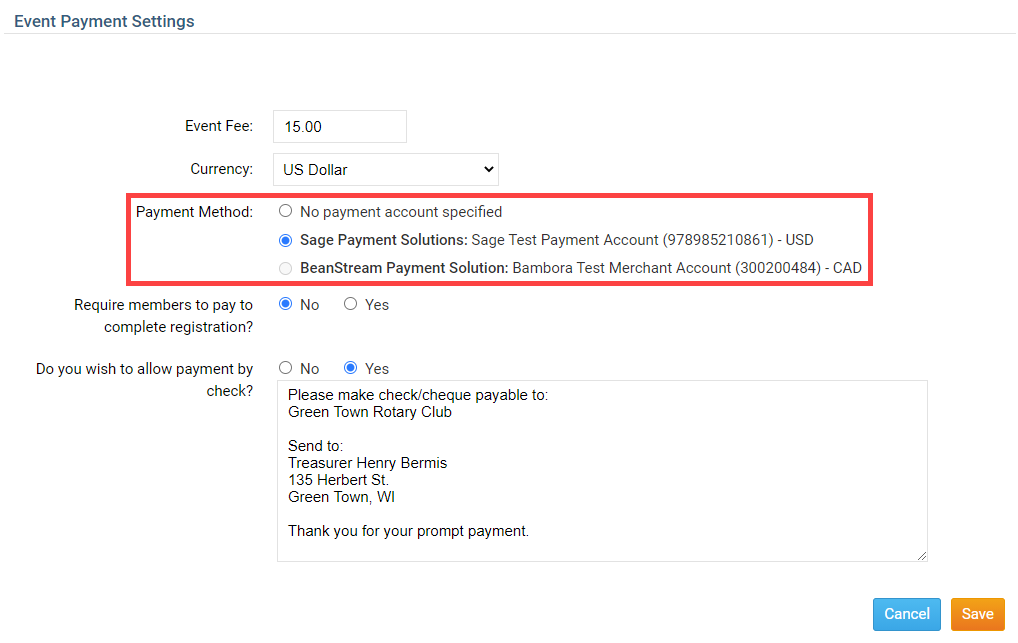
8. Next, select the method your club will use to accept online credit card payments. If you select No Payment Account Specified, your club will need to process payment offline. The second radio button gives you the option to select the ClubRunner payment partner available in your country. For the United States, this is Sage Payment Solutions.

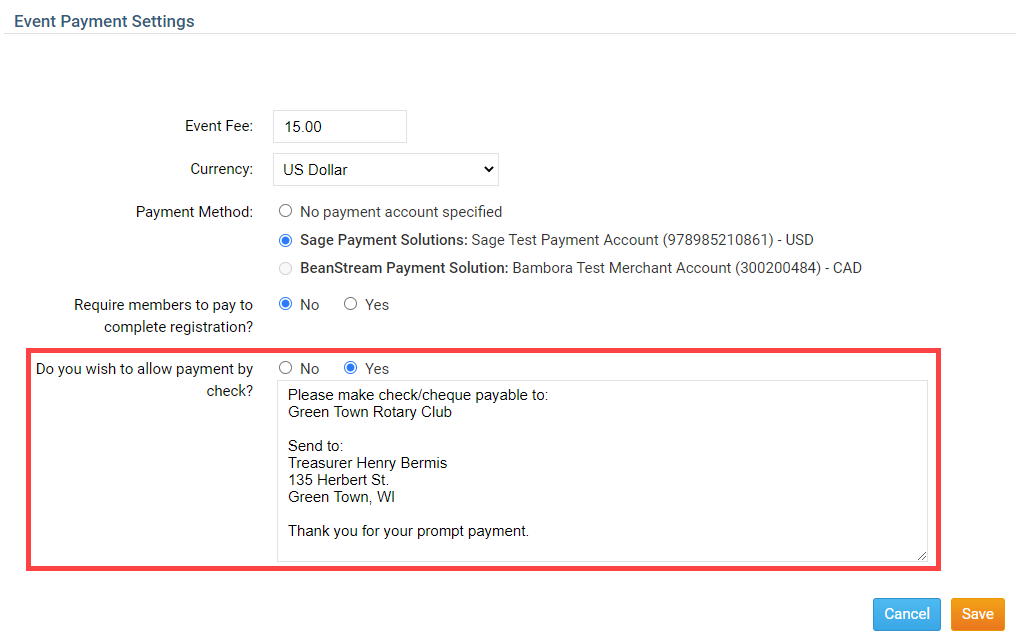
9. Your club has the option to accept payment by check. If you wish to accept checks, click Yes in the radio button next to Do you wish to allow payment by check? Otherwise, click No. If you do wish to accept payment by check, fill in the payment details in the provided text field.

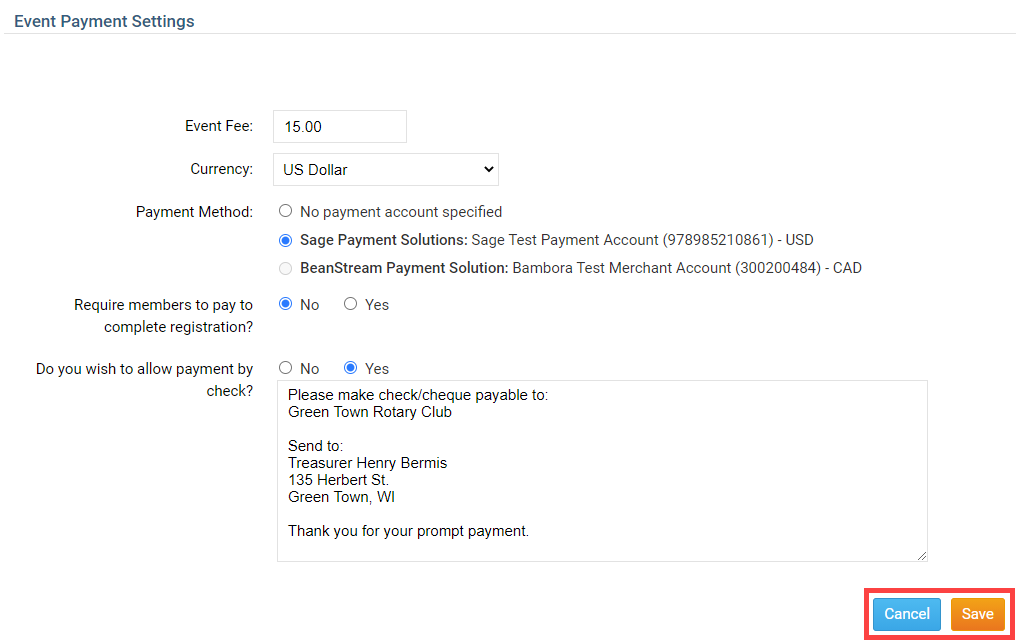
10. Finally, click Save to keep these payment details. Click Cancel if you wish to discard the information you entered.

