
Getting Started:
This section allows you to modify settings for your website and bulletins such as Club Logo, Mailing Address, Venue Map, etc. You can also integrate your Google Analytics account to help you track your Website's traffic. It also provides you with the option to upload your own CSS files if you wish to override your current theme. Please follow the steps below to learn how to access Website Settings:
1. To start, please login to ClubRunner and go into the Member Area.
2. On the blue menu bar near the top, click Website.
3. On the grey menu bar below, click Website Settings.
4. You will now see several options, please click on one of the following links to learn more about each option:
Legend:
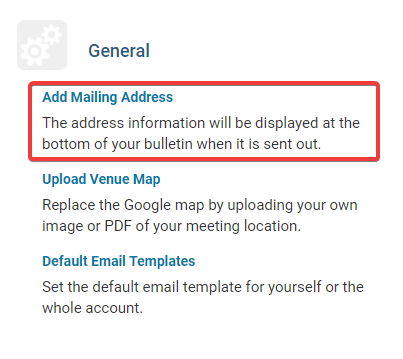
Add Mailing Address
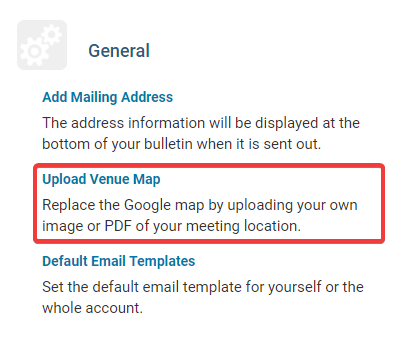
Upload Venue Map
Default Email Templates
Upload Club Logo
Upload Menu Home Icon
Upload Favicon
Upload Apple Touch Icon
Website Contact
Edit Meta Tags
Upload CSS
Search
Add Google Analytics
General Settings - Add Mailing Address
To add or change the mailing address, click the Add Mailing Address link in the General section.
Please fill out the address fields and click the Save button once done.
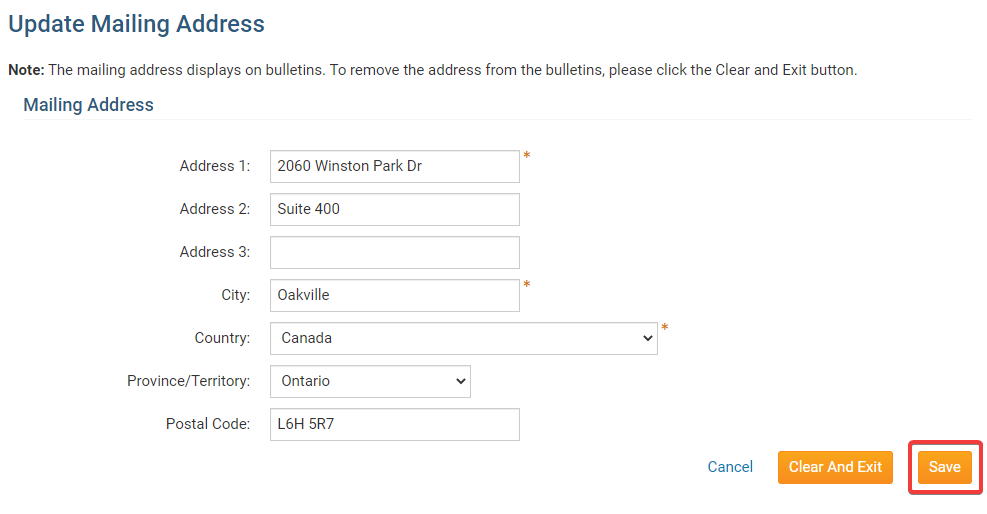
The mailing address will then be displayed at the bottom of your organization's bulletins.
General Settings - Upload Venue Map
Use this option top replace your Club's Google map location by uploading your own image or PDF of your meeting location.
To upload a new image of PDF file follow these steps:
Click the Upload Venue Map link from the General section.
Click the Choose File (or Browse) button to browse to the destination folder where the image or PDF file is located:
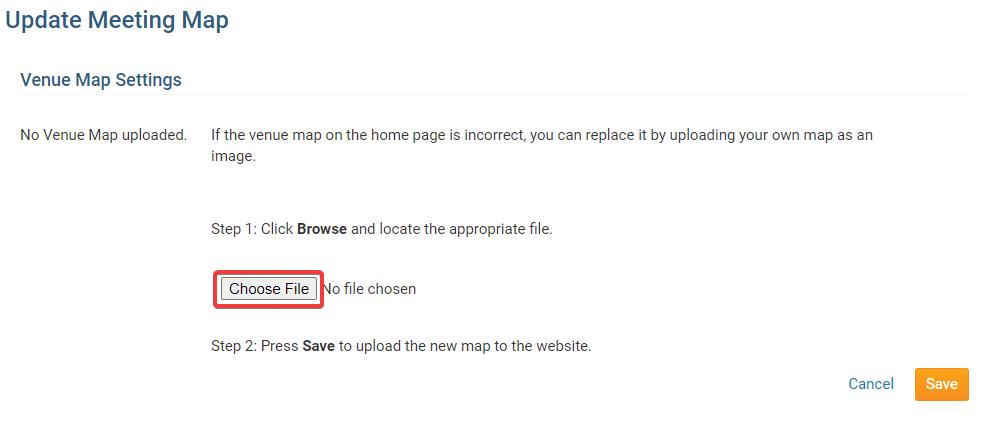
Double-click the image to select it, then click the Save button for your changes to take effect.
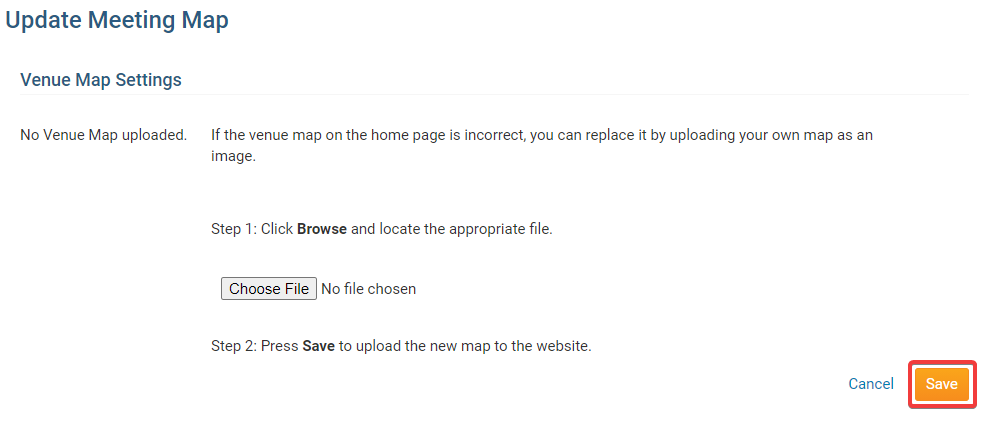
To upload a new image repeat Steps 1 - 3.
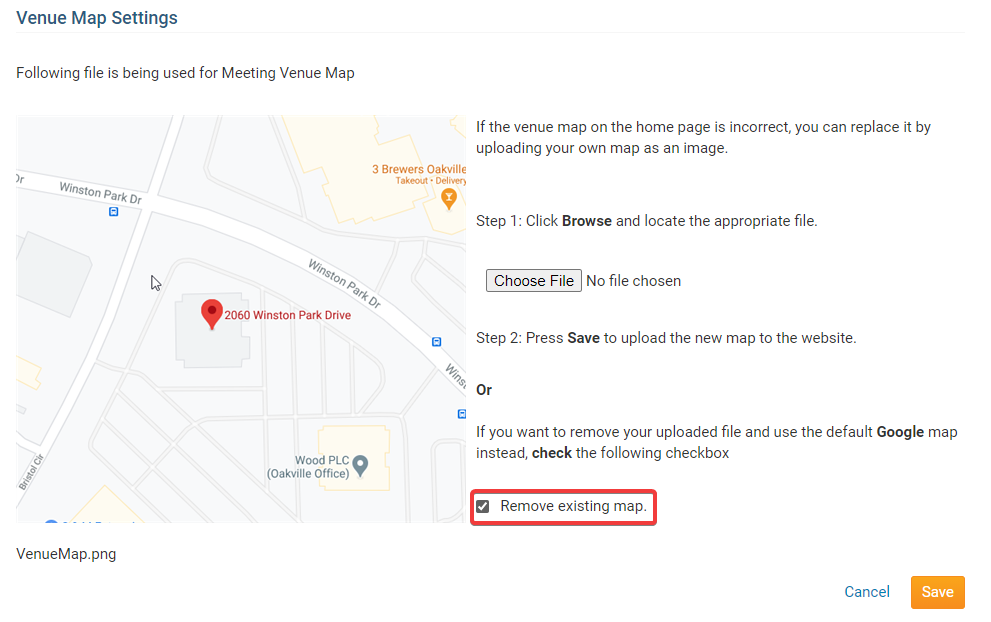
If you wish to remove the image or PDF file, simply select the Remove existing map check-box and click the Save button.
General Settings - Default Email Templates
You can set your own default email template or all of the members with a default email template so all of the emails sent from ClubRunner would be similar. To learn how to do this please follow the steps below:
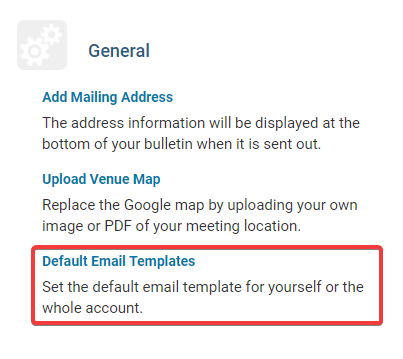
Click the Default Email Templates link from the General section.
From here you can set your own default email template or all users default email template by clicking on the Select Group, then selecting Custom.
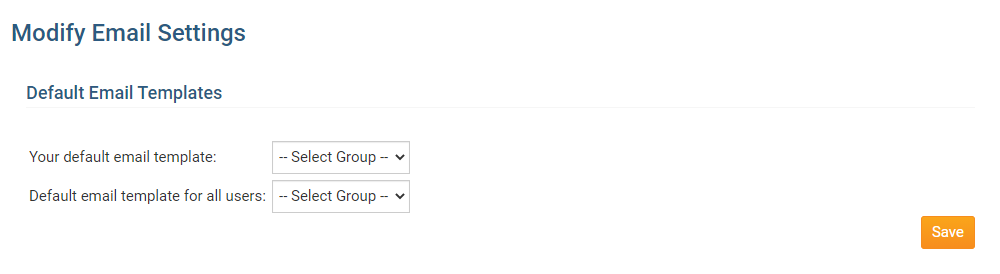
Select the Template you created from the list.
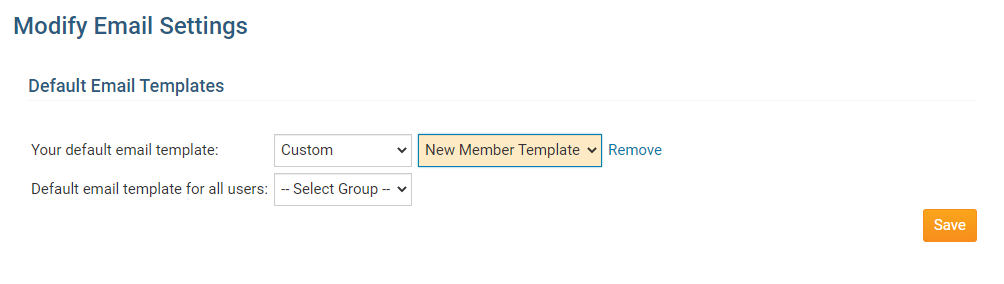
Click Save to save the changes.
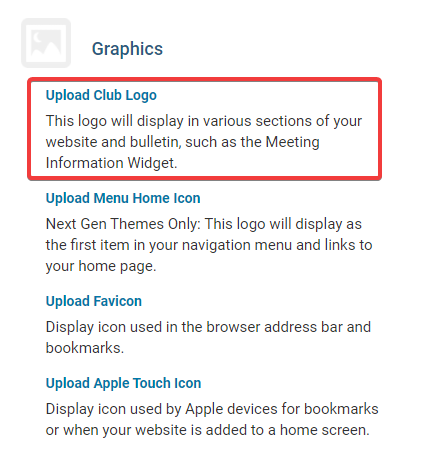
Graphics - Upload Club Logo
The purpose of this feature is to allow the Club to define the current year Club logo. Acceptable image types are GIF, JPG and PNG. To change an Existing Logo please follow these steps:
Click Upload Club Logo in the Graphics section.
Click on the Load from Image Library link to select a new Club Logo from your Image Library.
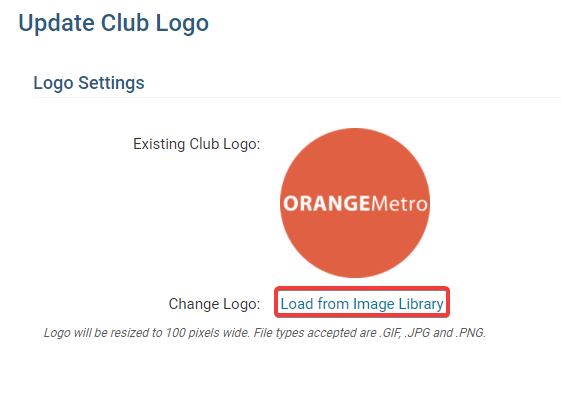
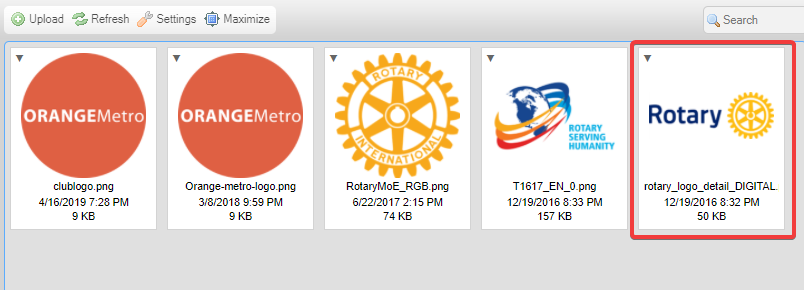
You can select an existing image or upload a new one using the Upload button:

Double-click on the image you wish to select as the new Club logo and the new image is automatically saved.
Upload Menu Home Icon
The Menu Home Icon is used in ClubRunner's newer themes. The icon is located near the top right of the website like this:
To add the Menu Home icon to the website, please see our dedicated article here.
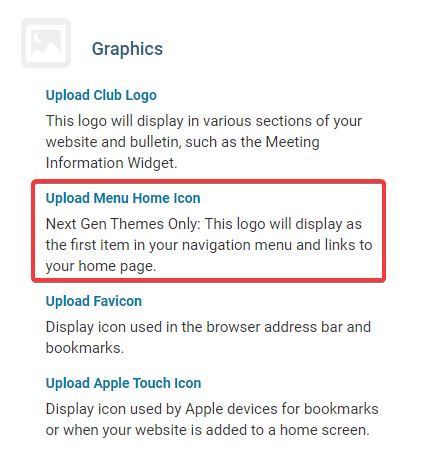
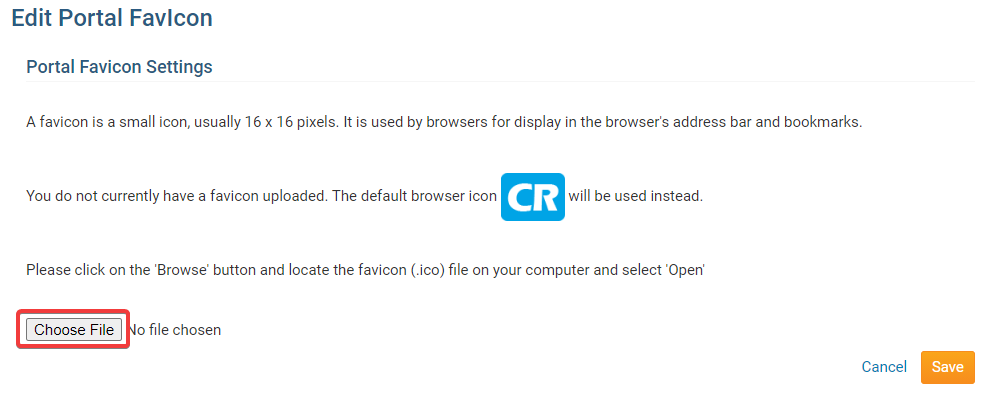
Graphics - Upload Favicon
The purpose of a Favicon is to display an icon associated with the website on the internet browser's tab and when the site is bookmarked. At times it is also called the favorites icon. A Favicon is a small icon usually 16 x 16 pixels. By default the ClubRunner logo is assigned to all Websites. If you wish to update your Club's Favicon please follow these steps:
Under the Graphics area click Upload Favicon.

Click the Choose File (or Browse) button to browse to the destination folder where the favicon image is located:
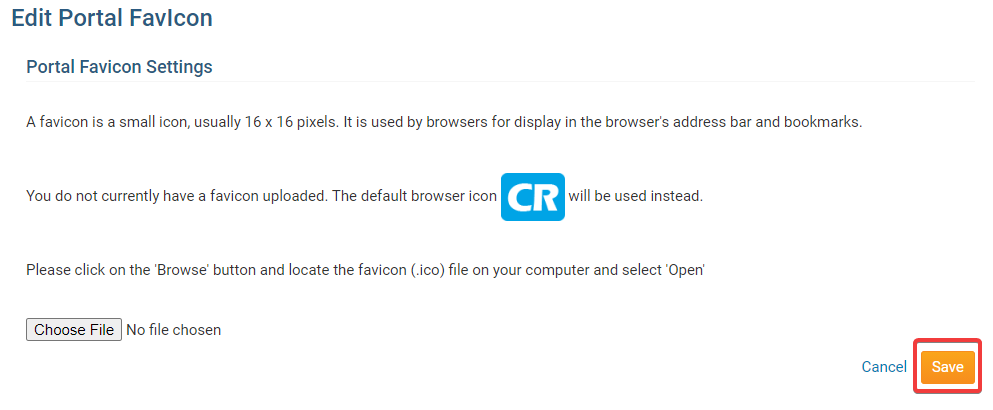
Click the Save button for your changes to take effect.
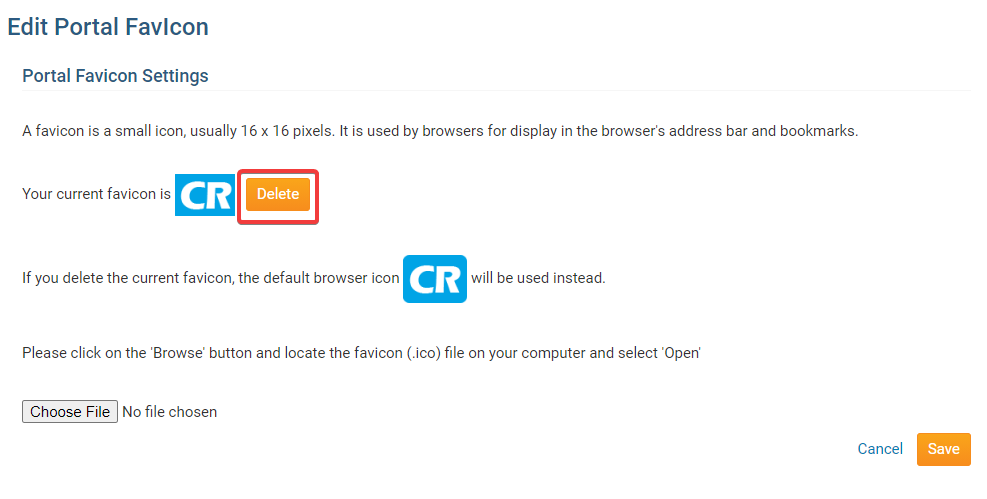
If you wish to remove or delete the Favicon image, simply click the Delete button next to the icon.
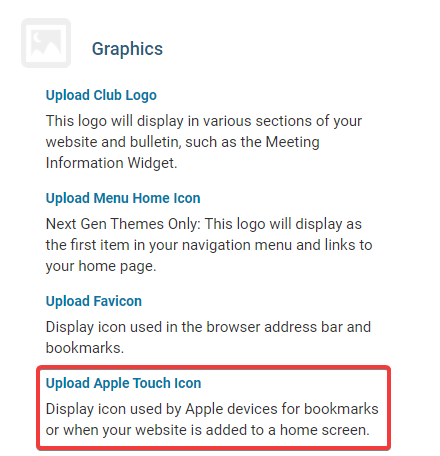
Graphics - Upload Apple Touch Icon
Similar to favicons, the Apple-Touch Icon displays a web page icon associated with your website but only when browsing online with Apple mobile devices such as iPod Touch, iPad, and iPhone. ClubRunner's browser Apple-Touch icon is assigned to all Clubs by default. If you wish to update your Club's Apple-Touch icon please follow these steps:
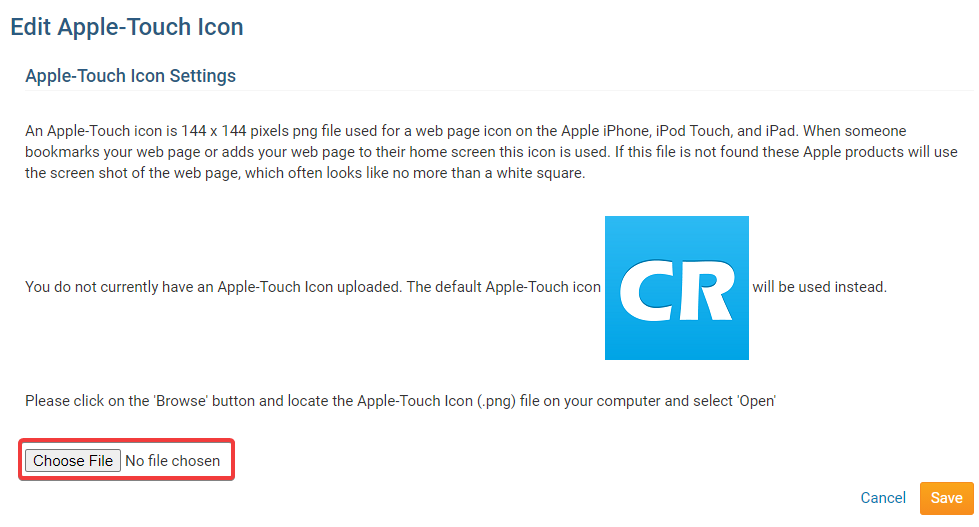
Under the Graphics area click Upload Apple Touch Icon.
Click the Choose File (or browse) button to browse to the destination folder where the Apple-Touch icon is located:
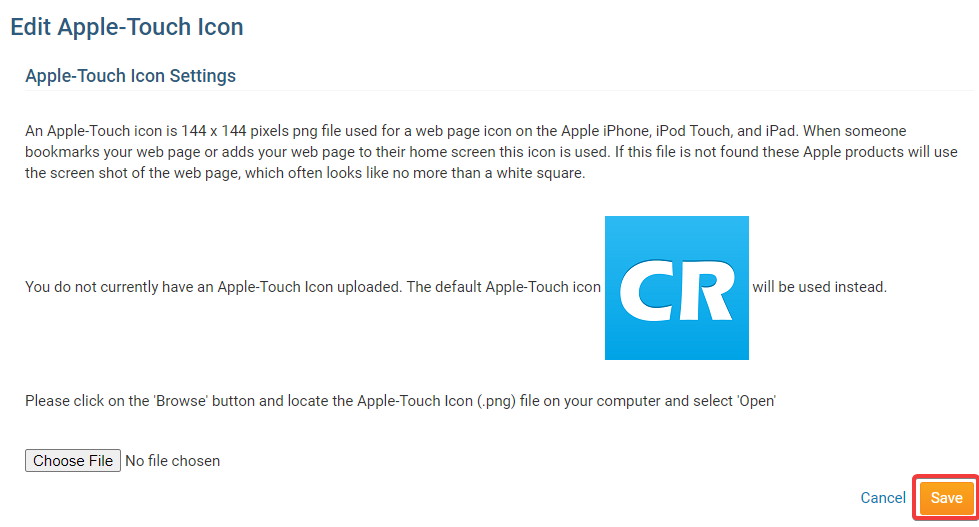
Double-click the favicon image to select it and click the Save button for your changes to take effect.
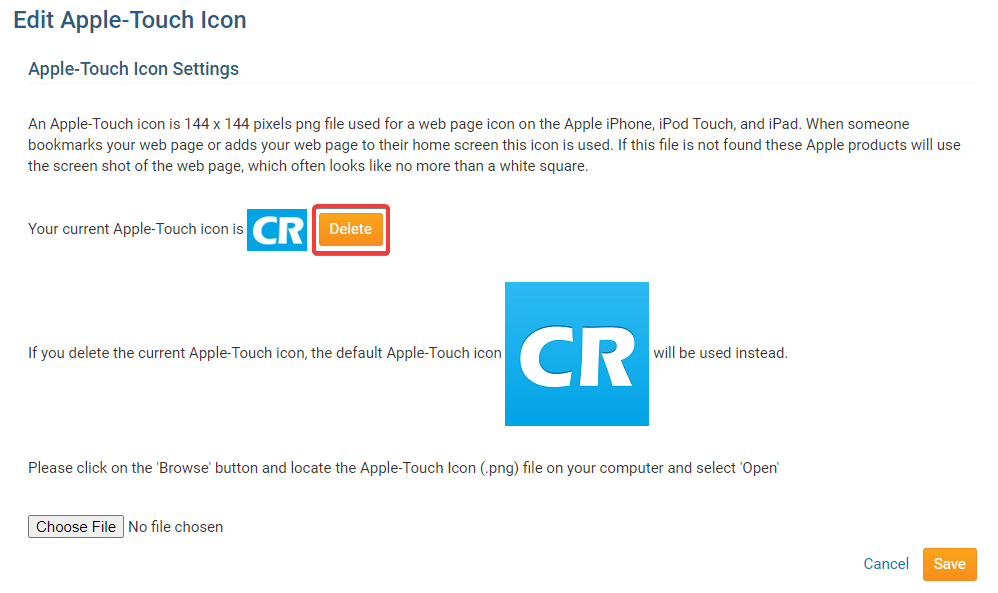
To upload a new Apple-touch icon repeat Steps 1 - 2. If you wish to remove the Apple-touch icon, simply click the Delete button next to the icon.
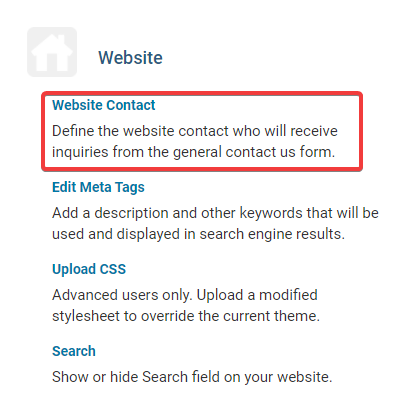
Website Contact
The website contact is the person who would receive an email when a person uses the Contact Us Built-in page. To learn more about built-in pages please read the article called What are Built-in Pages?
Click Website Contact under the Website area.
This takes you to a page where you can update the Website Contact. By default, the system automatically assigns the current year Secretary as the website contact. If one is not specified the system will then look to the next year Secretary, then the current year President or Governor. To choose a specific website contact, please use the drop down box to select the member.
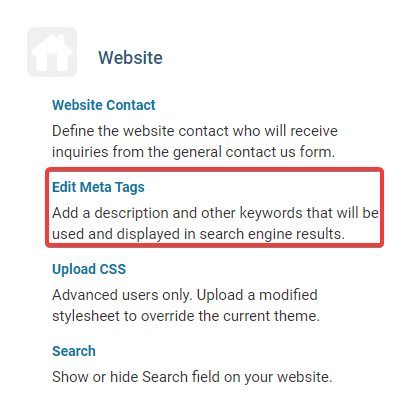
Website - Edit Meta Tags
Meta Tags are tags used in HTML or XHTML documents to provide structured metadata about a Web page. They provide information about your website, which helps it be found using Internet search engines, such as Google, Yahoo, and Bing.
Adding meta tags is an optional action. If you choose not to do so, ClubRunner will set default keywords for you based on your information.
To go to the Meta Tag page, please click Edit Meta Tags under the Website area.
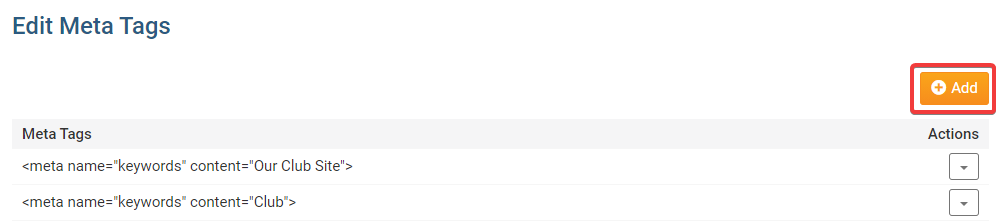
To create new Meta tags, click the Add button.
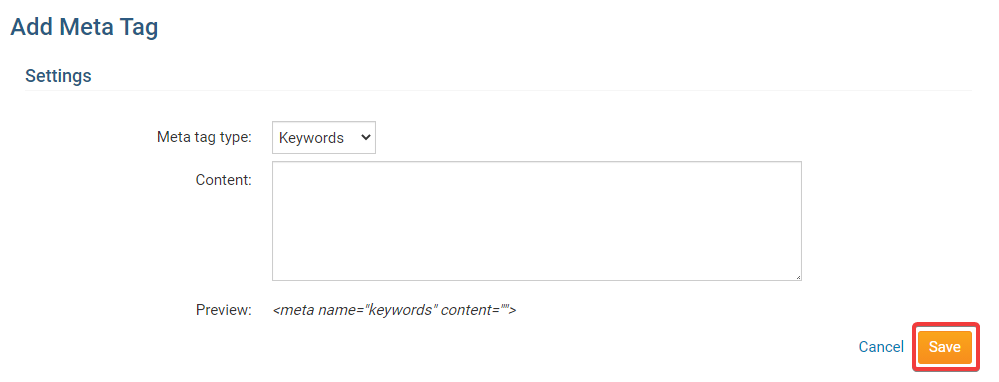
On the Add Meta Tag page you'll have 4 Meta tag types to choose from:
Keywords: Enter main keywords for your website, using a comma to separate the values. Do not insert any HTML tags as they are already predetermined by the system.
Description: Enter your main website description as a sentence. Do not insert any HTML tags as they are already predetermined by the system.
Author: Enter names to easily find the right person responsible for the Website or published stories. Do not insert any HTML tags as they are already predetermined by the system.
Custom: Similar to the Keywords type with the difference that HTML tags are not predetermined by the system. You'll require medium to high HTML knowledge in order to use this option.
Select the meta tag type you wish to use and enter the information in the Content section. The preview section will display your information in HTML format. Once you are finished, click the Save button to save your changes.
While viewing the Meta Tags you can click the Edit button to edit the tag or the Delete button to remove the tag.

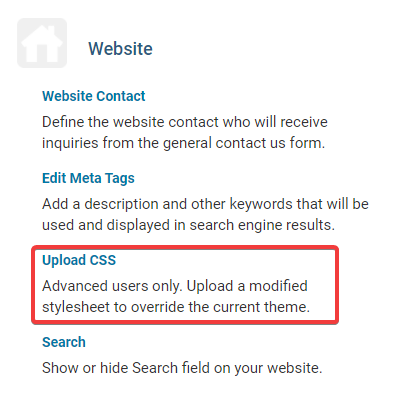
Website - Upload CSS
The purpose of the Upload CSS is to allow you to use your custom CSS within your ClubRunner site.
The use of custom CSS is recommended for advanced users only. In the event of any unwanted behaviour, deactivate all custom CSS and ensure that themes are enabled.
Under the Website area click Upload CSS.
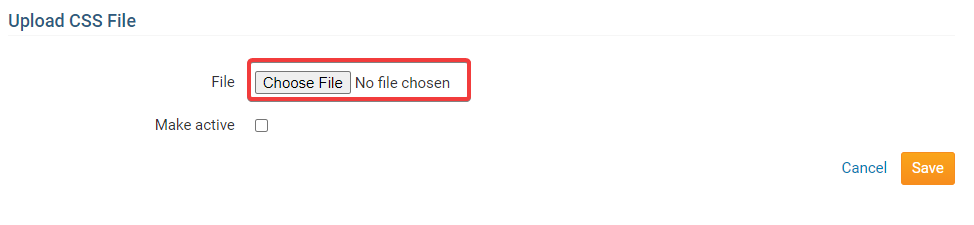
Click on the Add CSS File button.

Select the CSS file you wish to use by clicking the Select File button. You will be prompted to choose a file from your computer or local network.
If you upload a CSS file with the same name, it will write over the existing named CSS file.
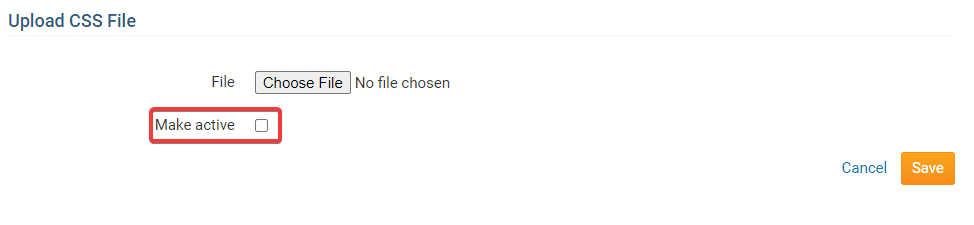
Next, click on the Make Active check box if you wish to immediately activate your custom CSS file once it is uploaded.
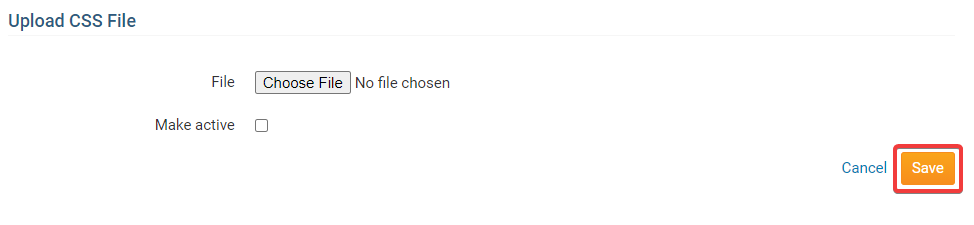
Click Save to upload the file. Click Cancel if you wish to discard your uploaded file.
When you upload a CSS, it overrides the built-in CSS themes pre-loaded with ClubRunner. You have the option to disable all system themes, rather than simply overriding them. To do so, click on the Disable Theme Setting button under the heading Theme Setting. You may enable the system themes again later by clicking on Edit Setting again.
