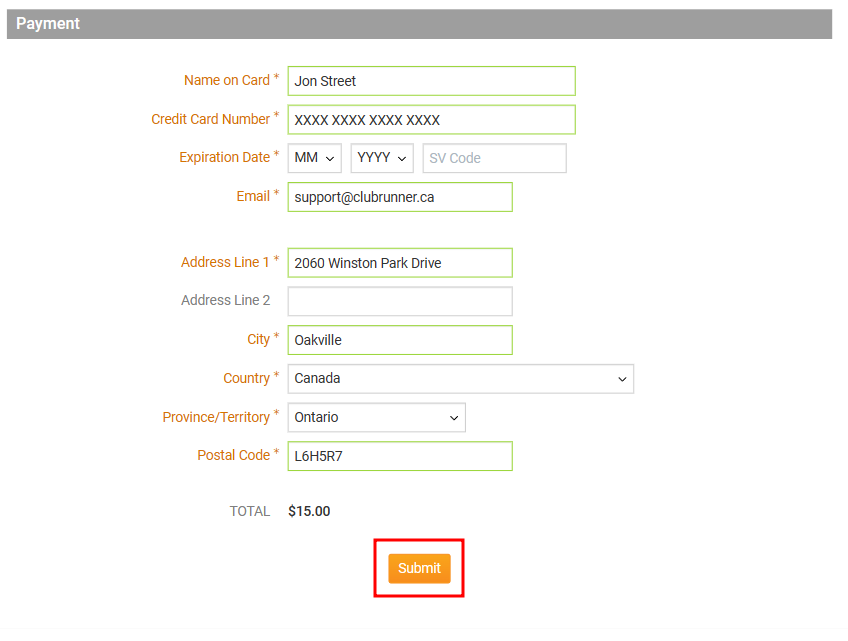
In the event that a member of your organization is unable to register for an upcoming event on their own, an Administrator is able to manually register the individual on their behalf.
Registering a member for an event
To access Cloud Events, you must go to your website’s homepage and log in. For more information on how to login, click here.
After logging in and navigation to the Member Area, you will see several tabs along the top of the screen. Click on the Events tab, and then click on Cloud Events.
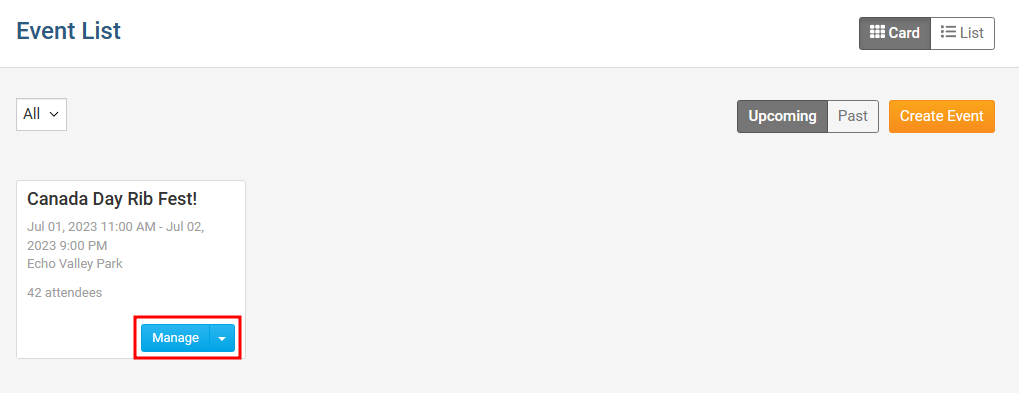
Click on the Manage button for the event you would like to add a new registration for.
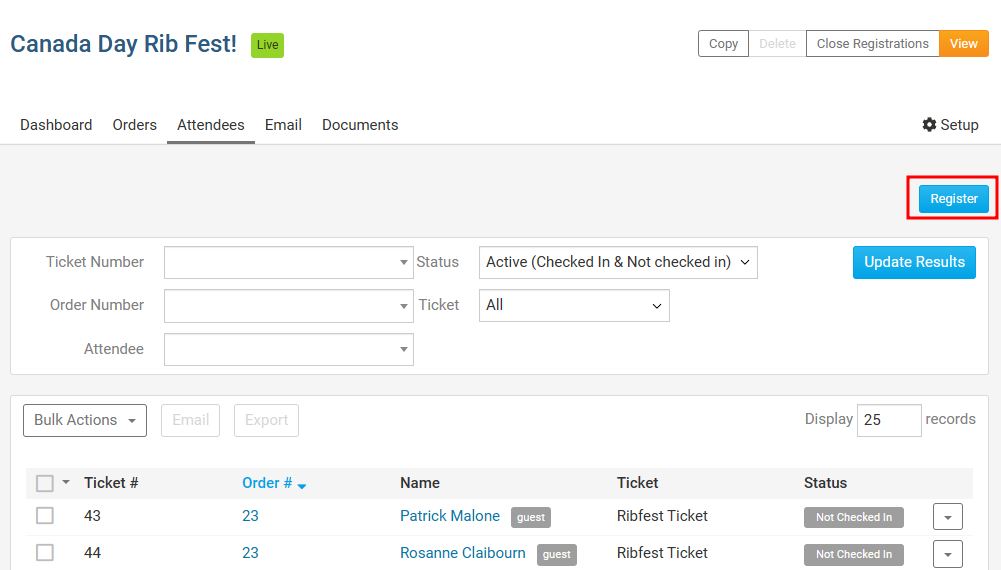
Near the top of the page, click the Attendees tab.

Click the Register button on the right side of the page.
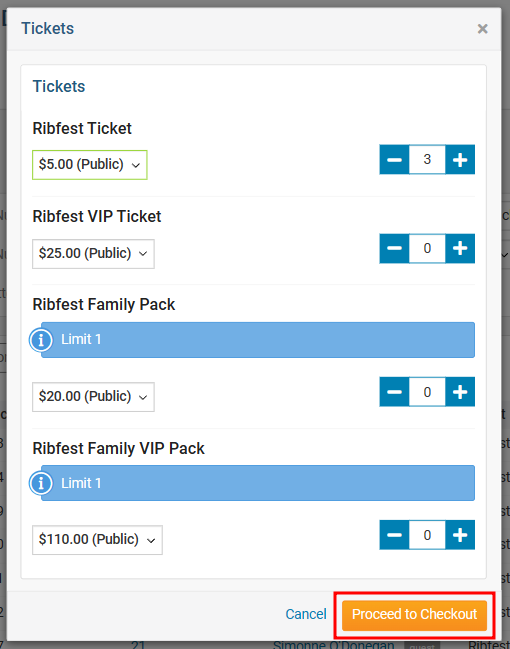
You are now asked to select which tickets and products the registrant would like Click on + and - buttons to add or remove individual tickets:
Tickets - Allows you to select how many tickets should be purchased.
Products - Allows you to determine the number of additional products to purchase.
Donation - Allows you to set an additional amount to donate to the organization through the event registration.
After selecting the order items, click on Proceed to Checkout.
On this page, we can see a number of different sections that will allow you to complete the registration process:
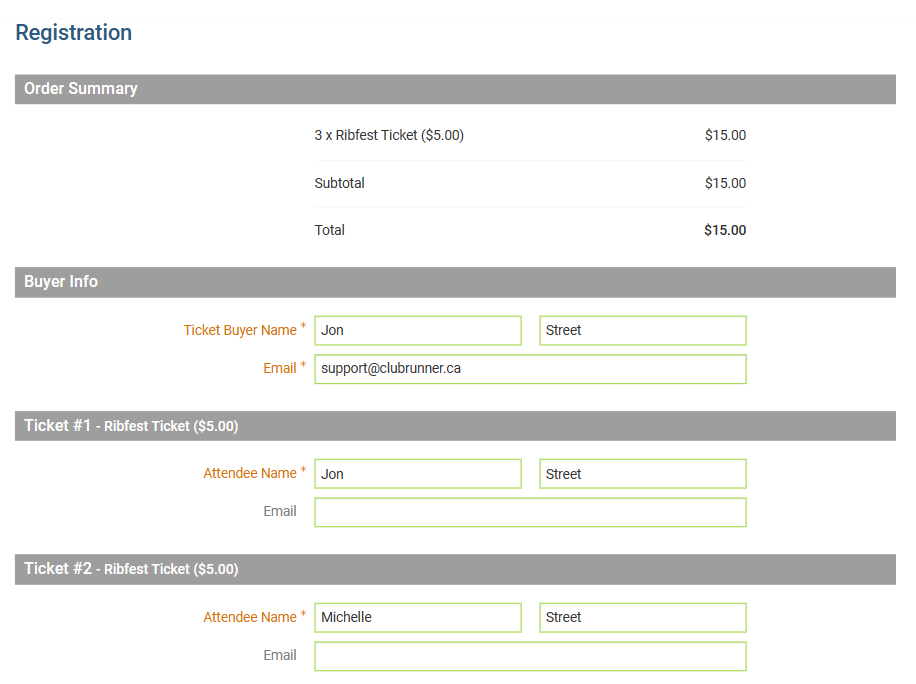
Order Summary - A list of all selected products for the order, as well as the total amounts for the order.
Promo Code - Allows you to enter a valid promo code to receive a discount on the final order.
Buyer Info
Ticket Buyer Name - The first and last name of the individual purchasing the tickets.
Email - The email address of the individual purchasing the tickets.
Custom Questions - Any custom order questions will be listed in this section.
Tickets
Attendee Name - The name of the individual that will be attending the event.
Email - The email address of the individual that will be attending the event.
Custom Questions - Any custom questions will be displayed in this section.
Payment
Payment Option - Allows you to select between one of the approved payment options. The page will update to allow you to provide the associated details for payment.
Credit Card - Will provide you with a form to enter your credit card details.
Bypass Payment - Allows Administrators to bypass the credit card payment option when registering someone for an event. This option only displays if the event does not have the "Bill Me Later" or “Check” option.
Check - Allows a payment by check. Provides instructions determined by the organization on how to submit a check payment.
Bill Me Later - Allows for the member to be billed at a later date/time. Provides instructions determined by the organization on how to submit a payment.
Once all of the order details have been entered, click on Place Order at the bottom of the page to submit the order and register the selected members.
