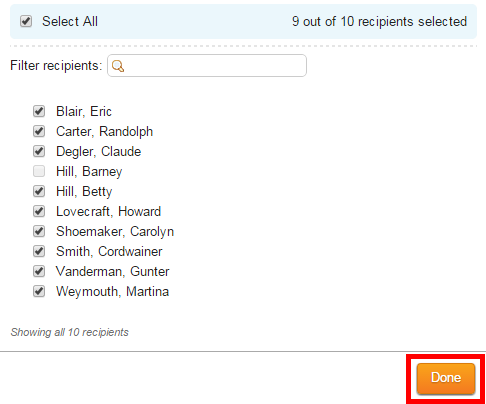
If you have an access level of 50 or higher you may use contact groups when composing an email message.
1. In Step 1 on the Create Email page you will see Contact Groups in the list of email recipients. Click on the checkbox next to Contact Groups if you wish to send the email to all your contacts.

2. To expand the list and select a given Contact Group, click on the arrow to the left of the check box.

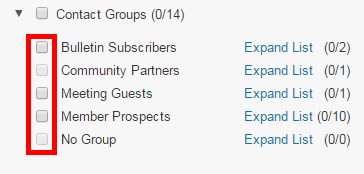
3. Now, select which group or groups you wish to email by clicking the checkbox next to the name of each group.
If the checkbox next to a group name is light grey in color it is inactive and you will be unable to select it. A contact group is inactive if it contains no contacts, or if none of the contacts within the group have an email address. In the image below the Community Partners custom group contains a contact without an email address. The No Group list simply contains no contacts. For these reasons, neither of these groups may be selected.
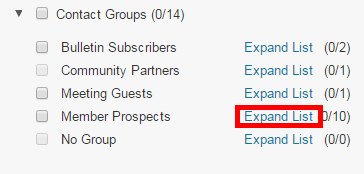
4. You can further individualize the contact recipients by clicking Expand List next to any of the Contact Groups.
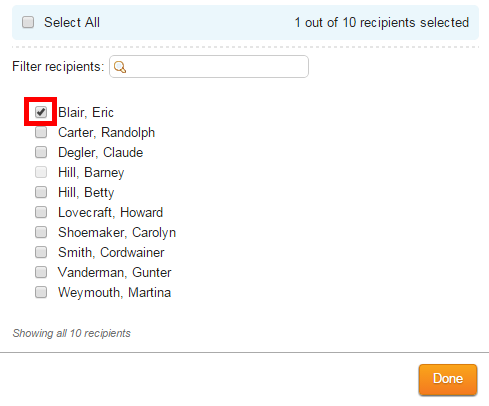
5. This displays a list of every contact in that contact group. Click the checkbox next to the name of each member you wish to email.
Alternately, you may wish to click Select All to send the email to every contact in the group with an active email address.
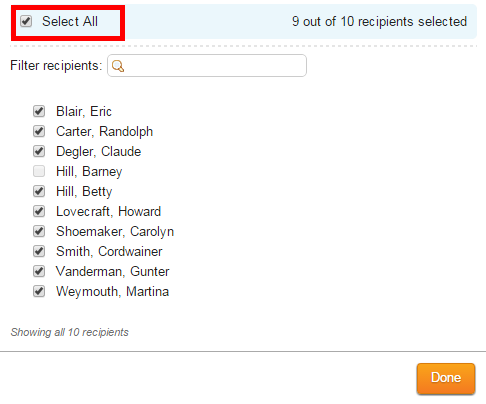
If the checkbox next to a given contact is greyed out, the box is disabled and cannot be selected. This indicates the contact does not have a valid email address.
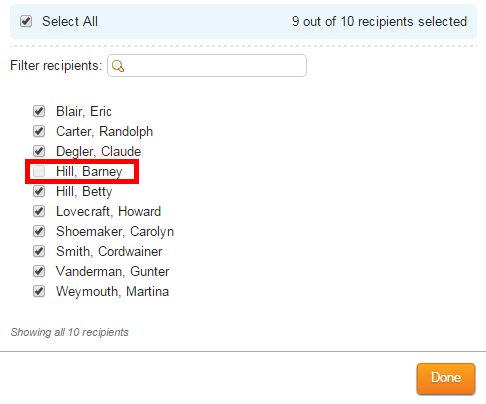
6. Click Done when you have selected your email recipients. You may now continue to Step 2 on the Create Email page.
