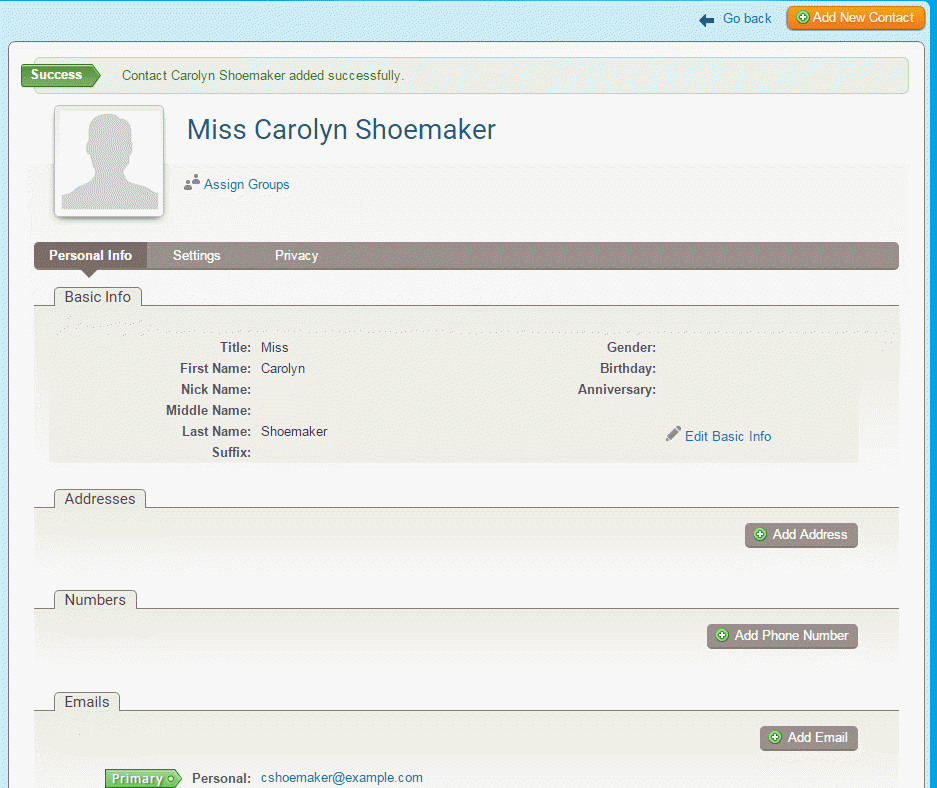
When you add a contact to your contacts list, a profile page for that contact is automatically generated. Through this profile page you can edit the contact's information and privacy settings. You can also edit their group assignments. Follow the steps below to access a contact profile.
-
Log in to your website and access the member area. From the member area, click on the Contacts tab.

-
Now, click on the Manage Contacts link.

-
This brings you to the All Contacts page where you will see a list of all your existing contacts.

-
Select the contact you wish to edit, and click the View link under the Actions column. Alternately, you may click on the Contact's last name.

-
You are brought to the Contact Profile. Here, you may edit their basic contact details, as well as add email addresses and other contact options.
Editing the Contact's Photo
-
Click on the picture, near the top left.
-
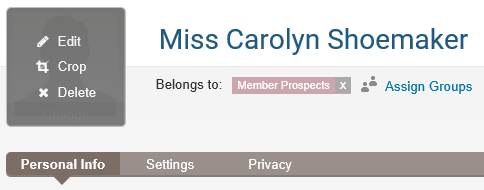
Click Edit to upload or select a picture. To upload a picture, click on the Upload link after you click Edit.
-
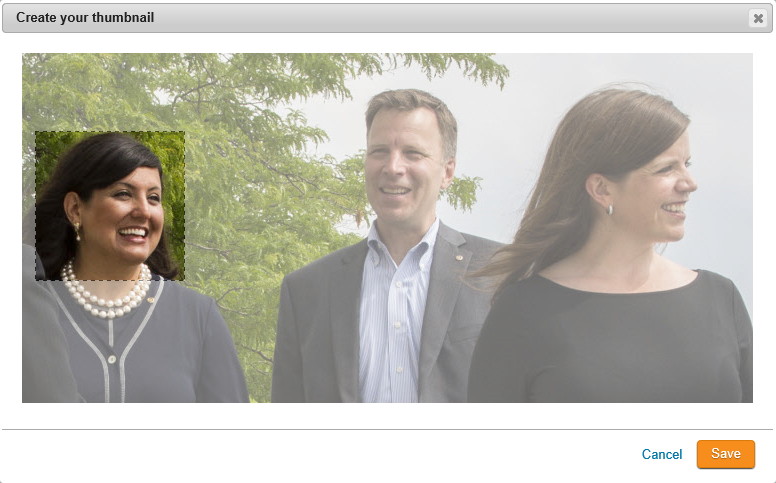
If you need the picture cropped, click on the picture on the profile and then click Crop. This will open a window which will allow you to place a square around the person's head. Once you move it to the area that you would like cropped, click Save near the bottom right.
-
To remove the image, click on the picture on the profile and click Delete.
Editing the Contact's Basic Information
-
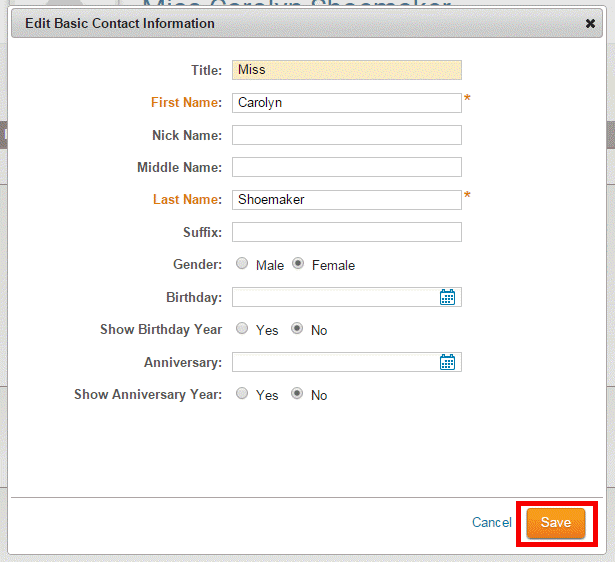
To edit the contact's basic details, click on Edit Basic Info in the Basic Info section of the profile.

-
You may now make the required changes to the fields in the editing window that appears. When you're finished, click Save.
How to Add a New Mailing Address
-
You may list a number of mailing addresses for a given contact. To add a new physical address, access the contact profile as above. Now, click the Add Address button under the heading Addresses.

-
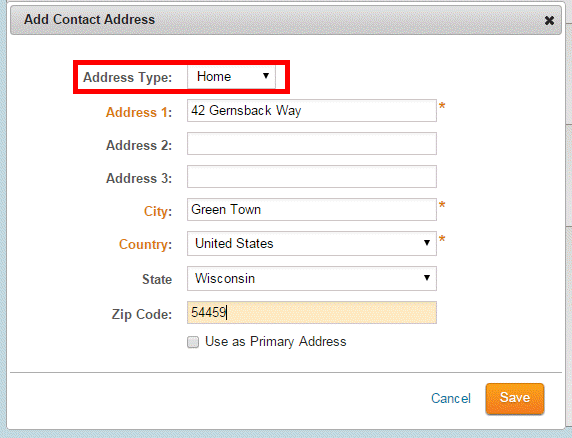
A window appears wherein you may enter the address details in the fields provided. Use the Address Type drop down menu to select whether the new address is a business or home address.
-
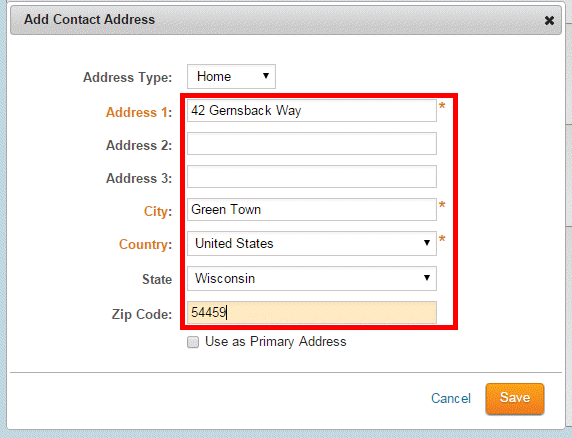
Enter the relevant address in the fields provided.
-
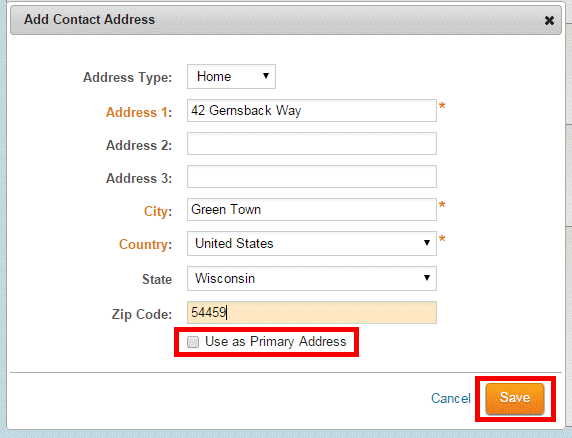
As you may enter multiple addresses for a given contact you have the option to select a Primary Address. Click the check box to identify this address as the primary one. This step is optional. When you are finished, click Save.
How to Add a New Phone Number
-
It is possible to assign multiple phone numbers to a contact's profile. To edit the phone numbers associated with the contact, access the Contact profile as outlined above. Now, click on Add Phone Number under the Numbers heading.

-
In the pop up window that appears, identify the number as either as a home number or a business number using the Phone Type field.

-
Enter the phone number in the fields provided. Remember to use the country calling code drop-drown to select the contact's home country, if needed. The calling code defaults to the country where your club is registered.

-
Click the checkbox beside Use as Primary Number to indicate this is the preferred telephone number for the contact.

-
When you are finished, click Save.

How to Add an Email Account
-
You can associate a number of different emails with your contact's profile. To edit a contact's emails, access the Contact profile as outlined above. Now, click on Add Email under the Emails heading.

-
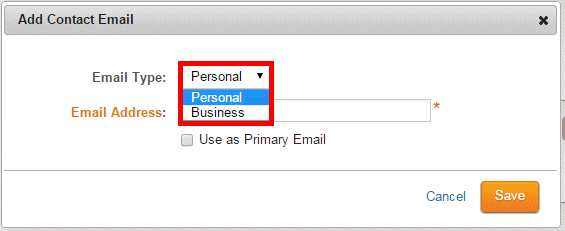
In the pop-up window that appears, select the Email Type from the drop-down field.
-
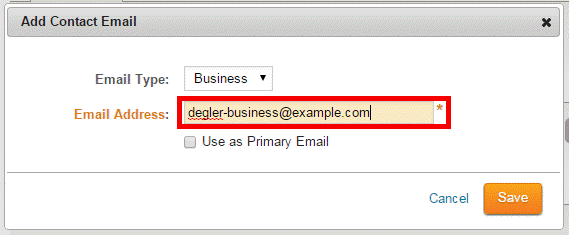
Now, enter the email address in the provided field.
-
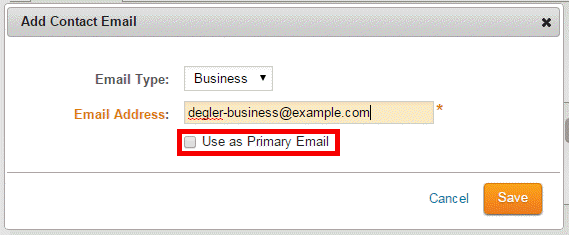
If you wish to identify this email as the main means of communicating with the client, click on the Use as Primary Email checkbox.
-
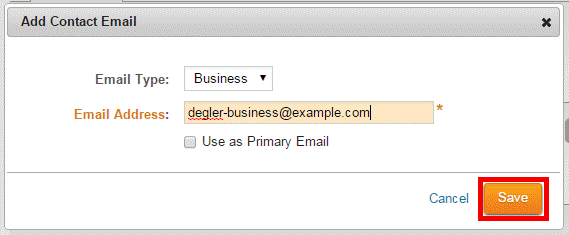
When you've finished, clicked Save.
How to Opt-Out a Contact from Club Communications and Emails
-
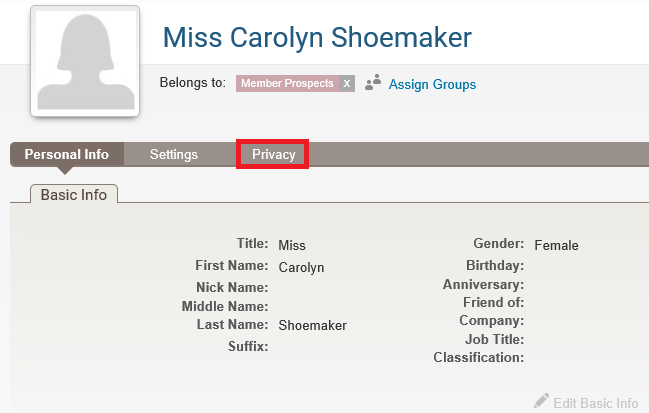
To opt-out a contact from Club communications or emails, click on Privacy in the contact's profile.
-
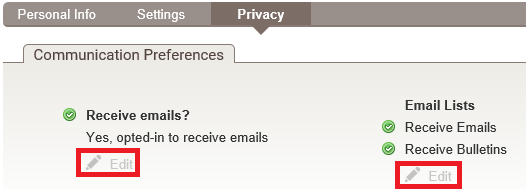
You can click on Edit below Receive emails? or Email Lists.
-
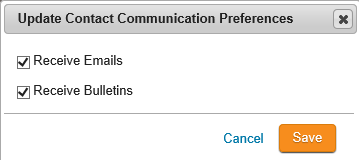
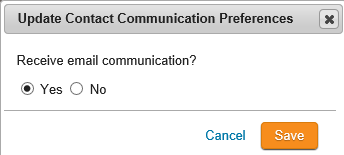
If you clicked Edit below Receive emails? you will get the pop up below. This will change the contact to opt-out of all Club communications and emails. Once done click Save.
-
If you clicked Edit below Email Lists you will get the pop up below. This will let you select which Club communication the contact will no longer receive. Once done click Save.
