With custom groups, you can organize non-member contacts in ways that are most effective for your specific needs. For example, your club may wish to have a contact group that includes all your local municipal politicians and another group for your charity partners. Follow the steps below to create a new custom contact group.
-
Log in to your website and access the member area. Next, click on the Contacts tab.

-
Then click on the Manage Groups link.

-
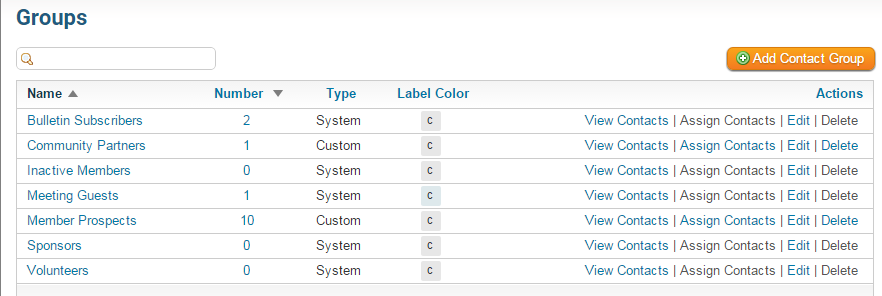
You are now on the Groups page, where you may view and edit existing groups, or add a new group.

-
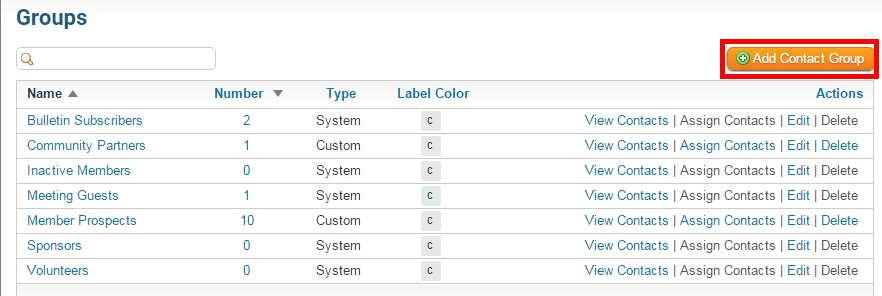
To create a new contact group, click on the Add Contact Group button on the right side of your screen.

-
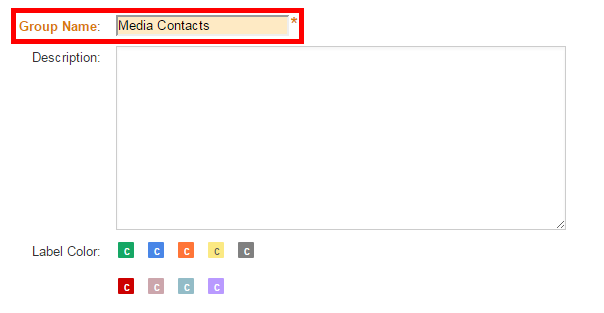
You are now on the Add Group page. Enter a short descriptive title for the new contact group in the Group Name field. This field is mandatory.

-
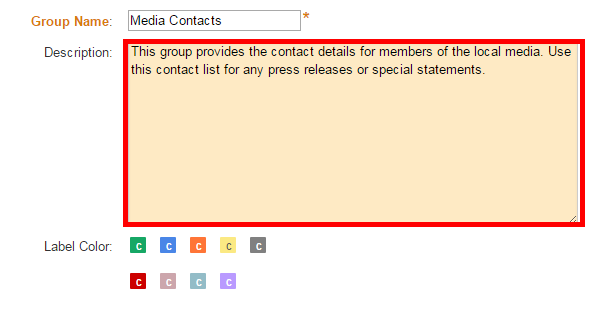
You have the option to enter a longer description of the group in the Description field.

-
Next, you may select a Label Color for the group. This is used to color-code the contact lists, making it easier to immediately identify members of a given group. Simply click on the color you wish to assign to the group.

-
Now, click Save. You are then returned to the Groups page, where you will see your new group listed.

