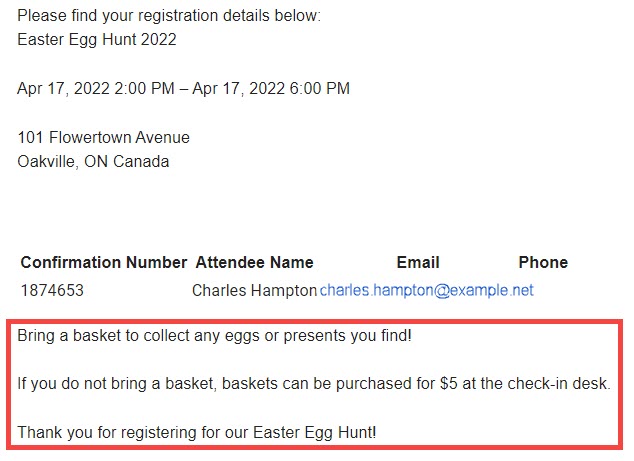
When creating an Event Planner event, you can include additional information in the confirmation emails sent to the registrants.
To enter additional information in the event confirmation emails, use the steps below:
- Login to your club website's Member Area.
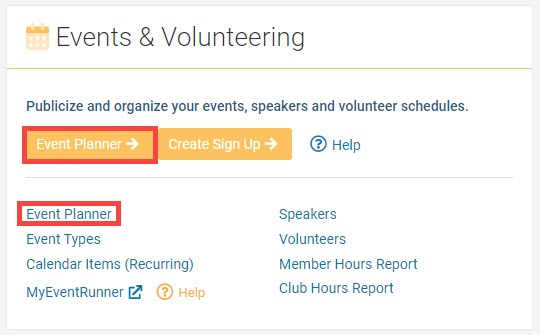
- In the club member area, from the Admin Dashboard click Event Planner in the Events Dashlet. Or, you can click the Events module in the top blue bar of the member area, then Event Planner in the grey bar just below.
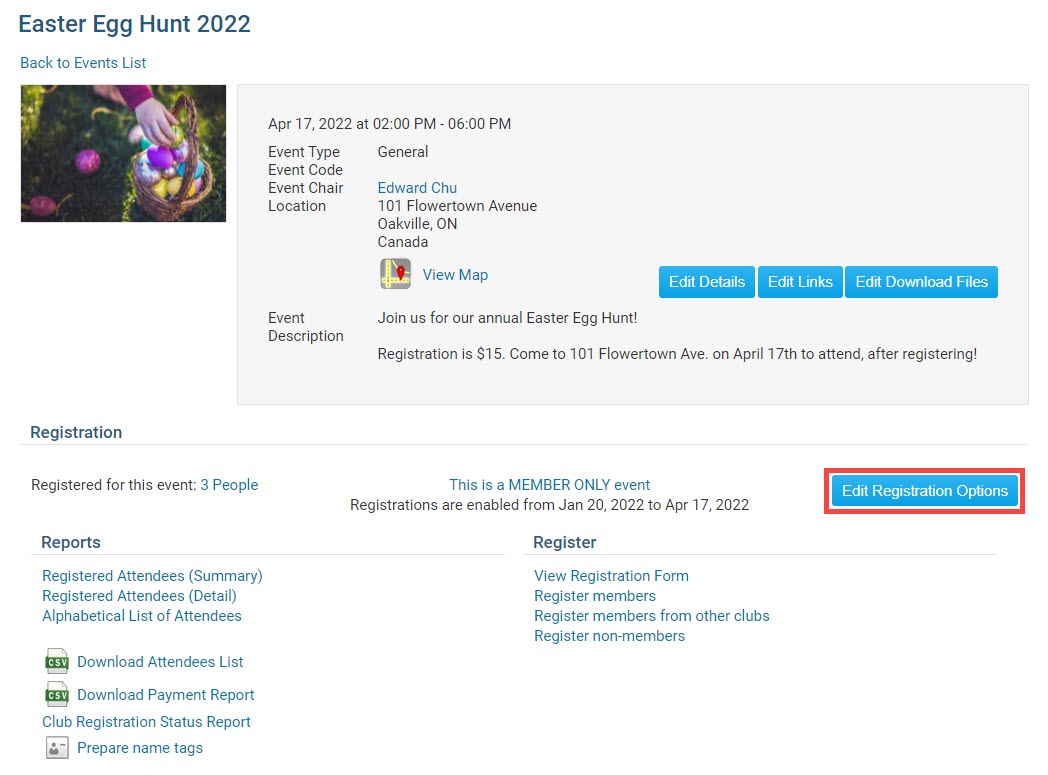
- In the Events List, click the Event Name or Open link.

- In the Event Summary page, click the Edit Registration Options button in the Registration Section.
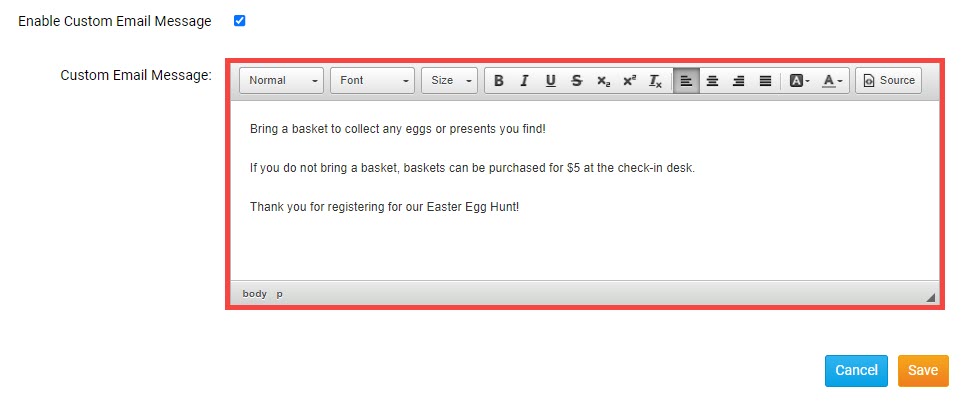
- From the Edit Registration Options page, check the Enable Custom Email Message checkbox.
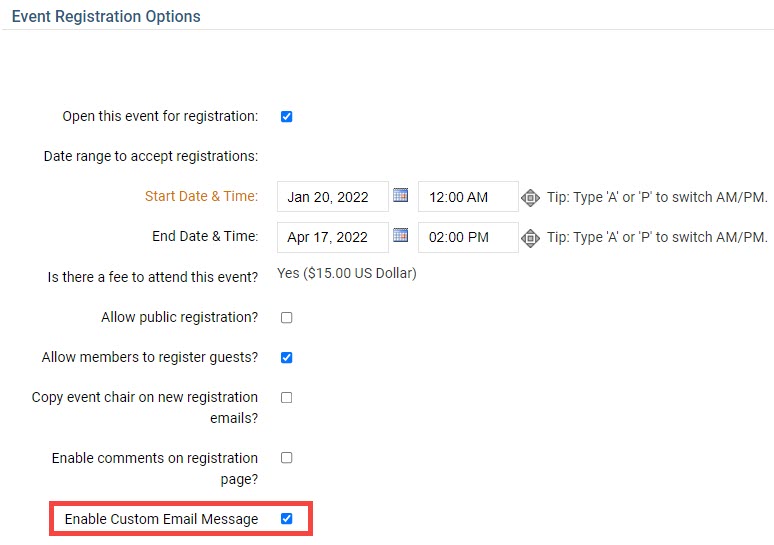
- Enter the additional confirmation email text in the Custom Email Message textbox.
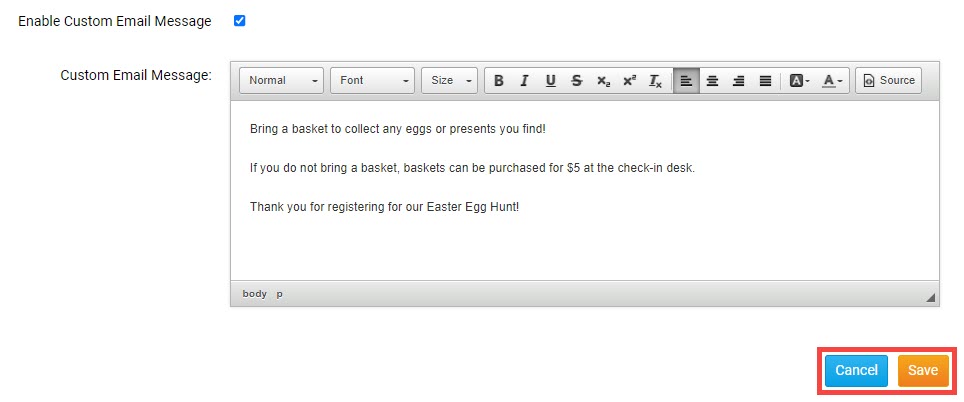
- Click the orange Save button at the bottom of the page to save the text to the event confirmation emails, or Cancel to cancel any updates made to the Registration Options.
With the custom message enabled and saved, the text will be added to the end of the event confirmation emails.
