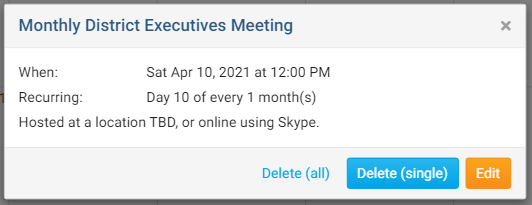
Our new Calendar Items module allows you place notes or messages on the calendar and event list page without the need to create an event. Calendar Items also lets you create recurring or repeating notes or messages. Which is perfect for weekly meetings. Please follow the steps below, to learn how to add a Calendar Item:
1. Go to your District's website and click Member Login near the top right.
2. After you have logged in, click Member Area near the top right.
3. On the grey menu bar near the top click Events.
4. On the blue menu bar click Calendar Items (Recurring).
5. This displays the Calendar Items page. From here you can view the Calendar, view a List of Calendar Items, and Add Calendar Items.

Add a new Calendar Item
1. To add a new Calendar Item, click Add Calendar Item on the Calendar Items Page.

2. You can fill in the Title and the Description of the Calendar Item on the first part of the page.
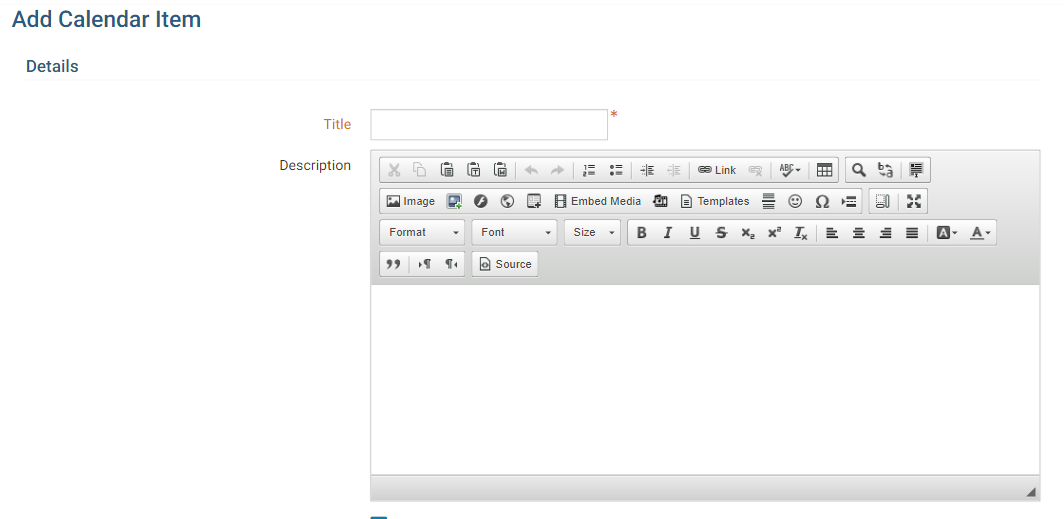
3. Then you could fill out the rest of the fields on the page.
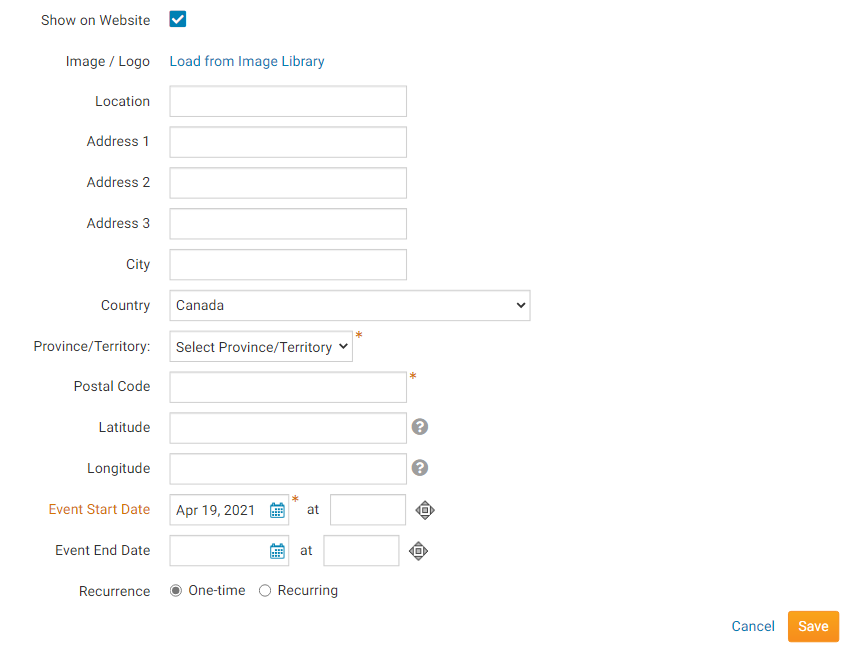
Image/Logo - Displays an image in the Calendar Item.
Location - Name of the location, if there is a location name.
Address Information - The address of the event, if there is an address.
Latitude & Longitude - This allows you to override the Address information for the map that shows on the Calendar Item's page. For help finding your Latitude and Longitude, please see our guide: How to find a location's Latitude & Longitude in Google Maps.
Event Start Date - The start date and time of the event. *This is a required field.
Event End Date - The end date and time of the event. The event duration may not exceed 365 days.
Recurrence - One-Time - The event only happens once.
Recurring - The event recurs. For more information about this please read further down.
Save - Once done click Save.
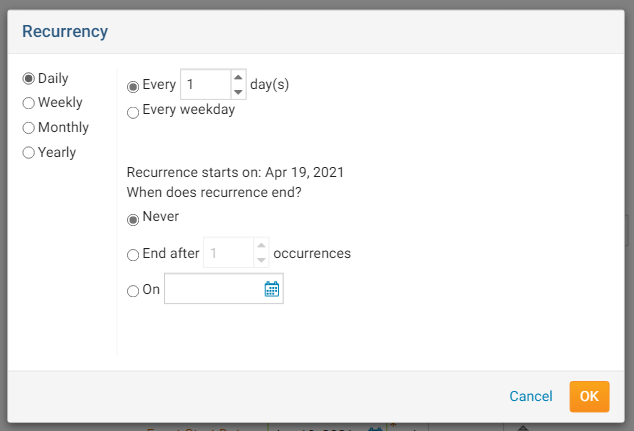
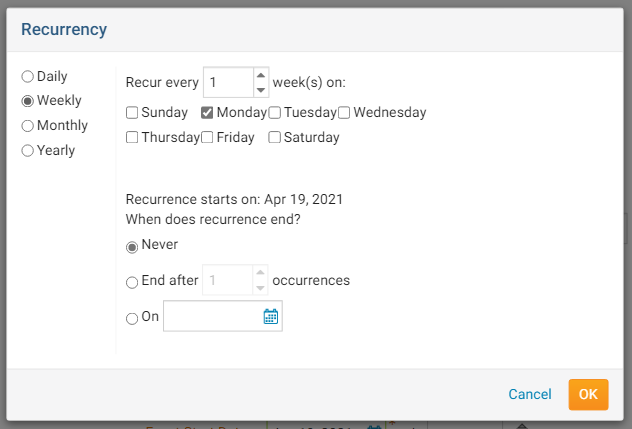
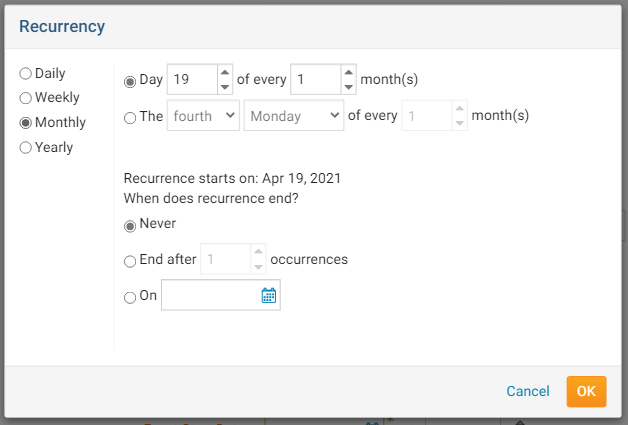
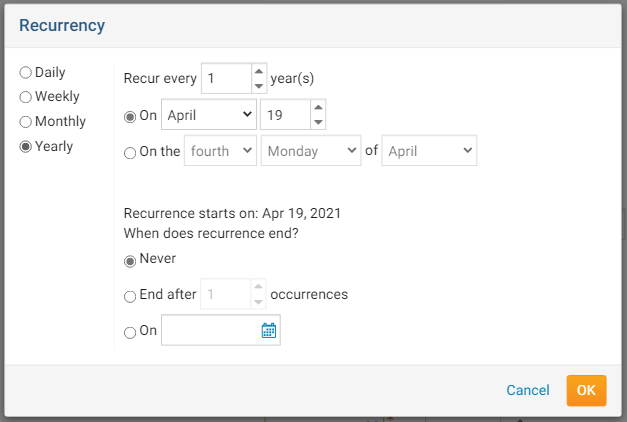
If you selected Recurring, a popup window will appear with more options. You can choose to have the Calendar Item recur daily, weekly, monthly or yearly. Each one displays different options. Please see them below:
Daily:
Weekly:
Monthly:
Yearly:
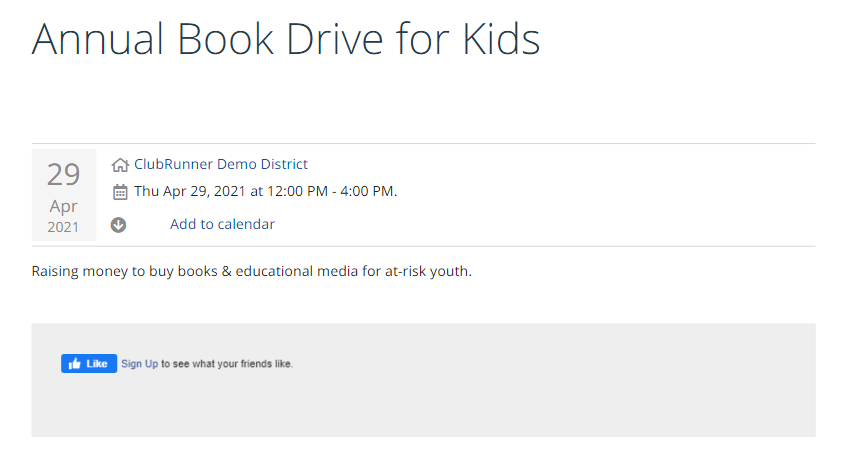
After you click save you can view it on your Districts's Calendar or Event List page. If a user clicks on the title of the Calendar Item, the page for the Calendar Item would appear which will look similar to the image below:
Calendar View
1. To see what your Calendar Items look like on the Club's calendar, click on Calendar View.

2. This will display a calendar with the Calendar Items on it.
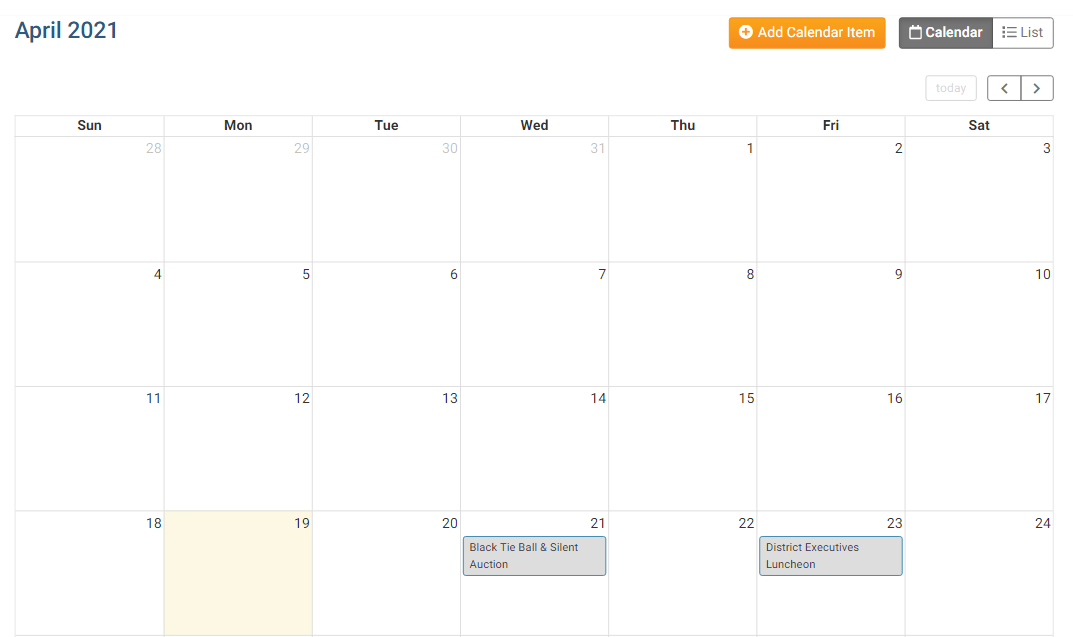
3. If you were to click on a Calendar Item, you would be able to see how it will look when a user clicks on it on the Club calendar. If you would like to edit it, you can by clicking on the Edit button. If you would like to delete it, click on one of the delete buttons.
