I. Introduction
General Overview
You can upload your pictures to the Homepage Photo Albums. These albums are also stored in the Photo Album Library which allows you to have it linked so that it can appear anywhere on your website.
II. Getting Started
Location
Please follow the steps below to begin:
1. Go to your Club's website, log in to ClubRunner.
2. Click on the Website link on the main menu navigation.
3. Click on Website Content.
4. Click on Home Page Photo Albums.
III. Functions
Creating the Photo Album
Before uploading your pictures to ClubRunner, you will need to create a Photo Album. Photo Albums are used to store your pictures, similar to a folder. If the Photo Album widget was not added to the Home page or the Bulletin, an alert will appear.
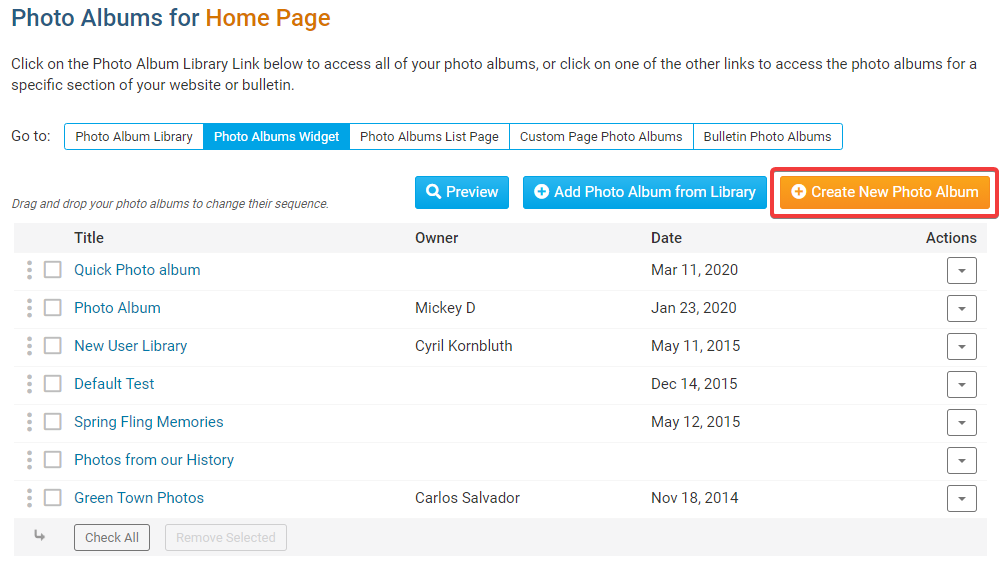
1. Click on the Create New Photo Album button.
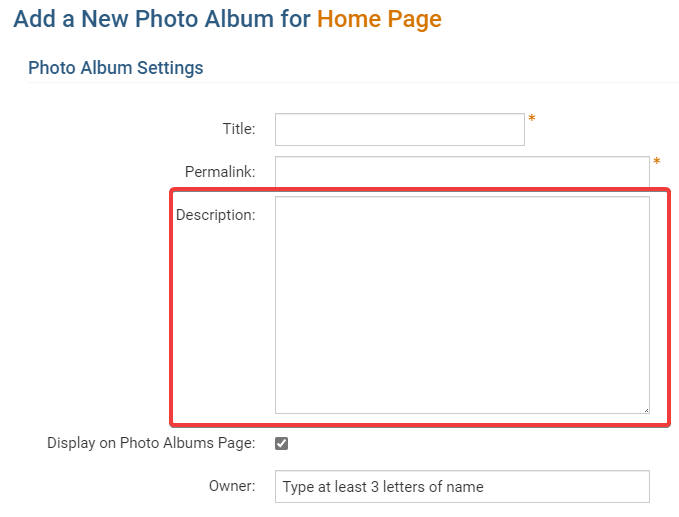
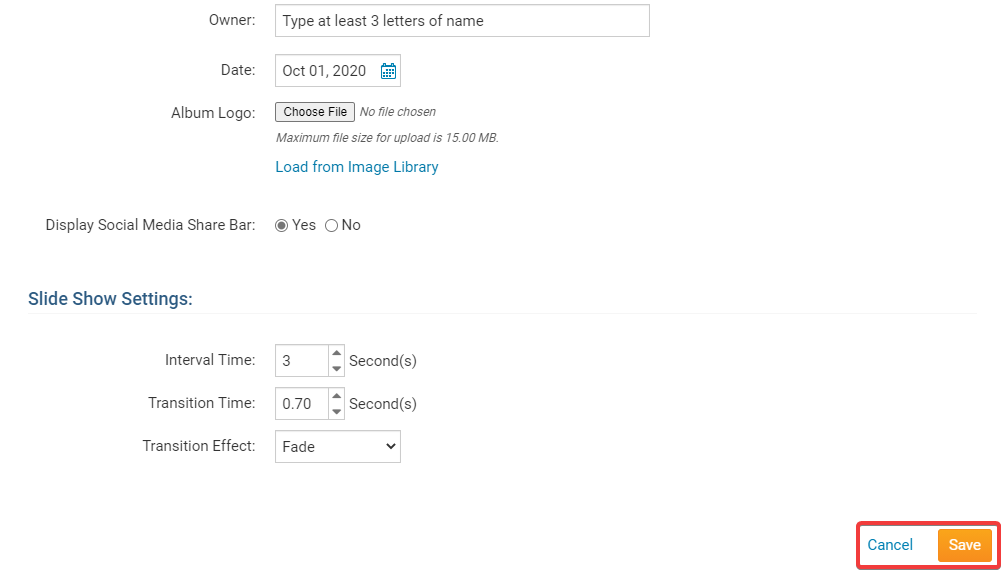
2. Enter the Title of your new photo album. The Permalink will appear automatically.

3. Enter the Description of your new album. (optional)
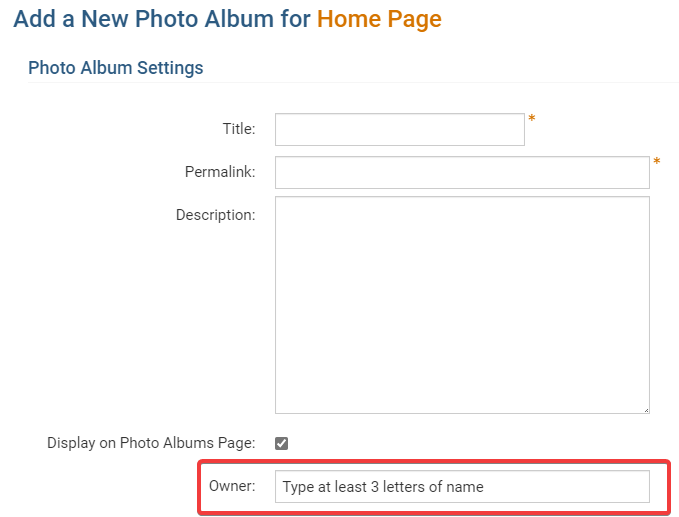
4. Assign an Owner to the album by typing the first three letters of the member's name. The album owner can add or remove photos. (optional)
5. Finalize your changes by clicking Save, or Cancel to discard the album.
Adding Photos to the Album
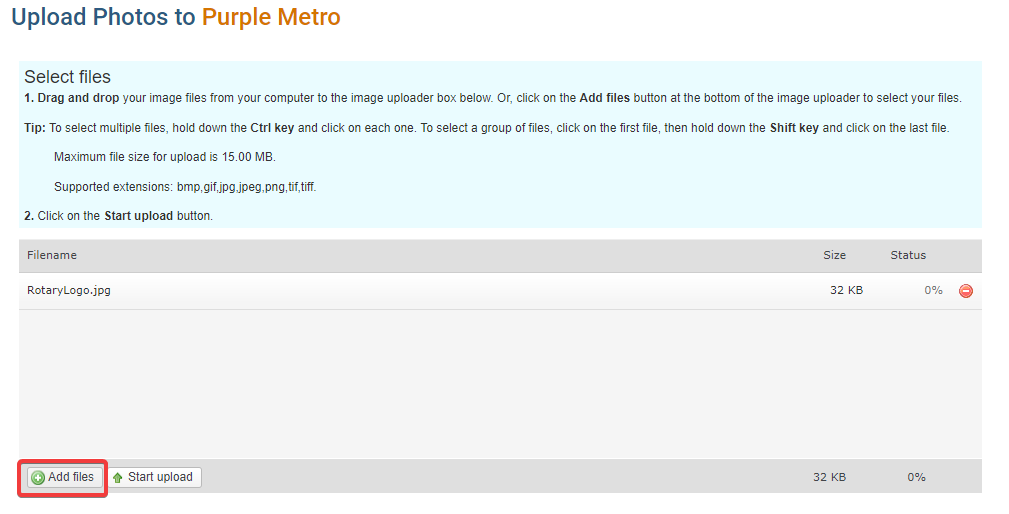
After the album is created, you will have an opportunity to upload your photos from your computer. There are two methods:
Drag and drop
Add File Button
Drag and drop
1. To add a photo using the Drag and Drop method, open the file folder where your pictures are stores.
2. Click on an image and hold down the left button of your mouse. Drag the photo to the Photo Album Box on ClubRunner. If you want to move multiple photos, hold down the CTRL key and click each photo.
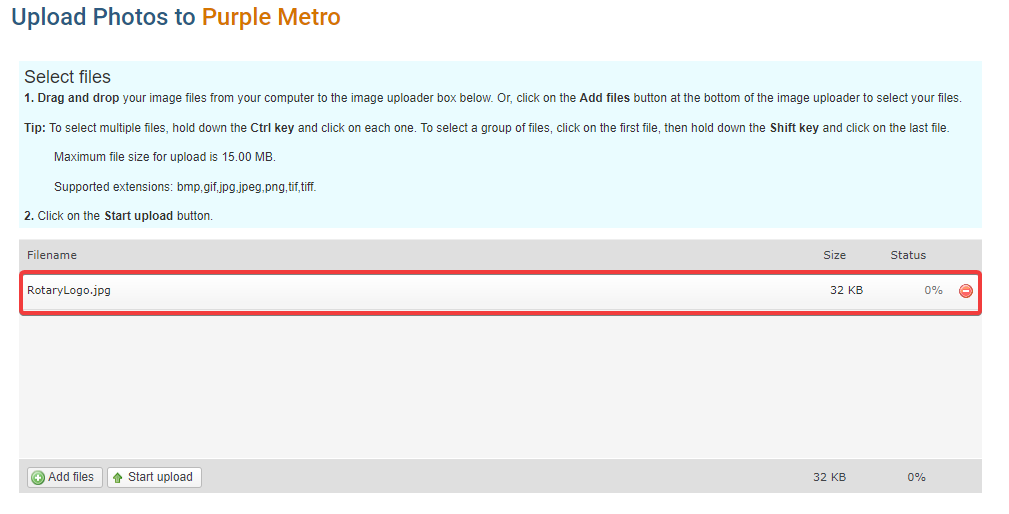
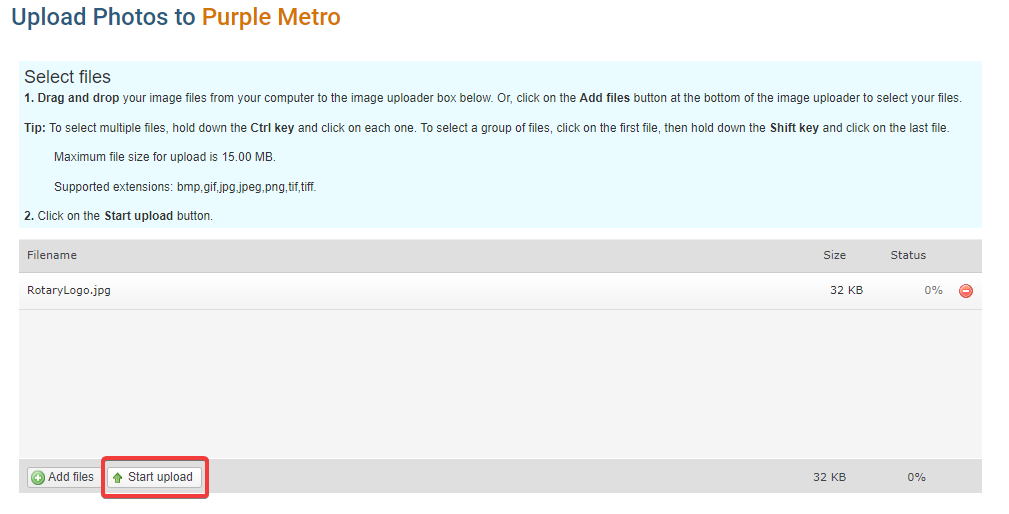
3. The photos will appear in your album. Click on the Start Upload button to begin the upload process.
Add File Button
1. To use the Add Files method, click on the Add Files button, and then select your photos from your device.