Creating A New Event
In order to utilize MyEventRunner, an event will need to be created. The following is a step by step guide on how to create a new event.
First you would have to access the MyEventRunner area. To do this please login to ClubRunner and go to the member area. Then click Events on the blue menu bar near the top, then click MyEventRunner on the grey menu bar.
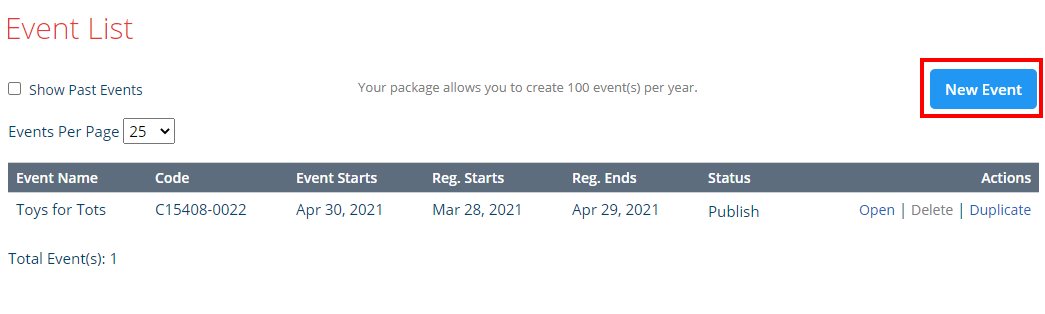
You are not on the Event List Page. Please click on the New Event link near the right. Once selected, you will be ready to start adding information for your new Event.
Step 1: Enter Event Information

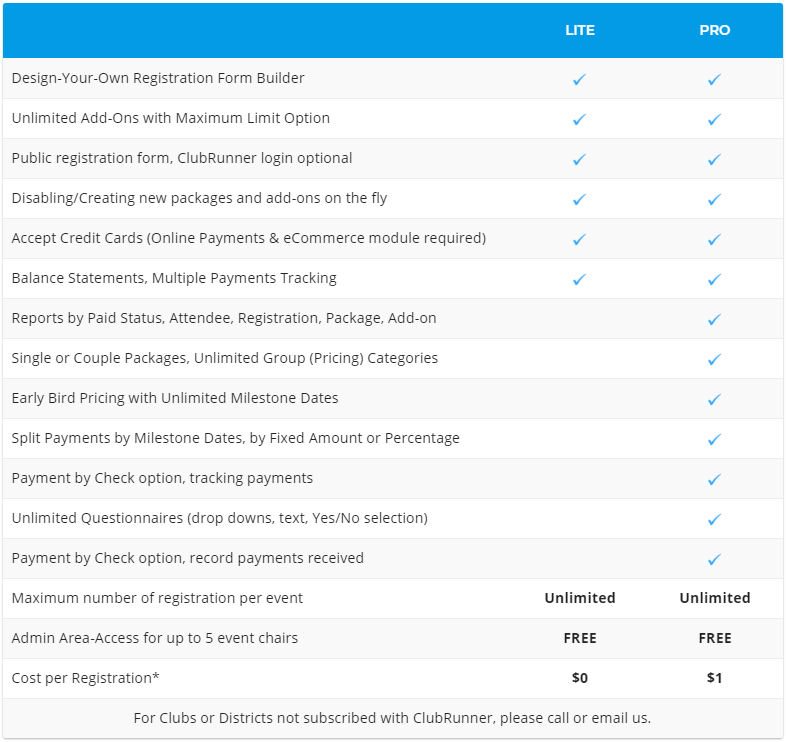
Available in two versions, Lite and Pro, MyEventRunner gives you the power to collect public registrations and payments for your events. Wondering what the differences between each version are? Check out the features comparison chart below to find out!
Links and Functions
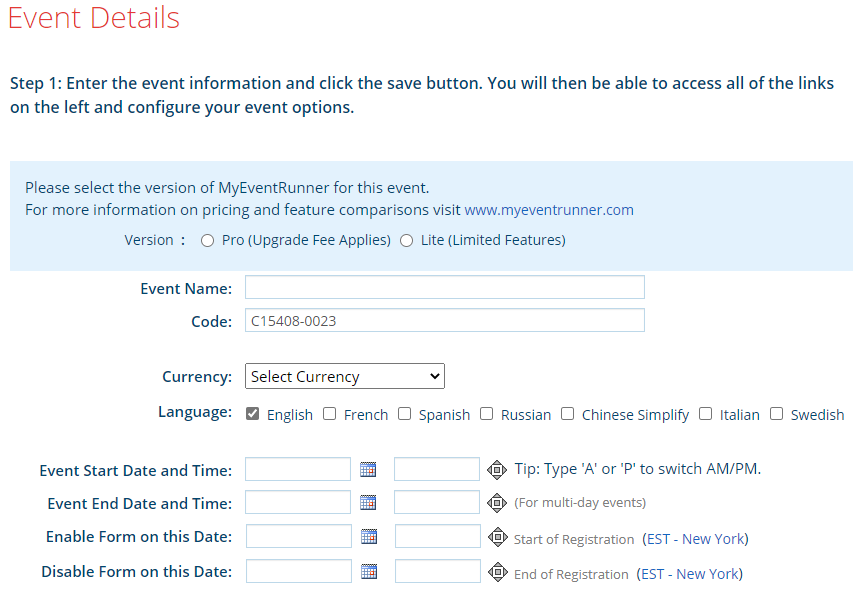
- Event Name: Name of the event being created. This is a required field!
- Code: Reference code to identify the event. Populates automatically but can be manually edited.
- Currency: Select the currency to be used for payment. This is a required field!
- Language: This function will translate fields to help users of a different language enter information with ease. More than one language can be selected. Default language selected is English. At least one language is required.
- Event Start Date and Time: This is the starting date and time of the event. Remember the time is in Eastern Standard.
- Event End Date and Time: This is the ending date and time of the event. Remember the time is in Eastern Standard.
- Enable form on this date: Date the event will begin to appear on the site; this is the date that members can start to register for the event.
- Disable Form on this Date: Date the event will no longer appear on the site; this is the date that the members will no longer be able to register for the event.
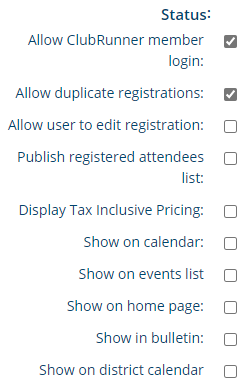
- Allow ClubRunner member login: This allows the members to login and have personal fields populate based on the membership information. I.e. First Name, Last Name, Phone number, etc.
- Allow duplicate registrations: This allows a member to register for an event multiple times.
- Allow user to edit registration: This gives the registered member the ability to make changes to their registration after they have already registered.
- Publish registered attendees list: Will allow users on the site to view the user that will be attending the event.
- Show on calendar: This will display the event on the homepage menu calendar option.
- Show on home page: This will display the event in the Events homepage widget. The Event widget must be setup for the event to be displayed on the homepage.
- Show in bulletin: This will display the event in the Events Bulletin widget. The Events Bulletin widget must be setup in the bulletin to be displayed on the bulletin.
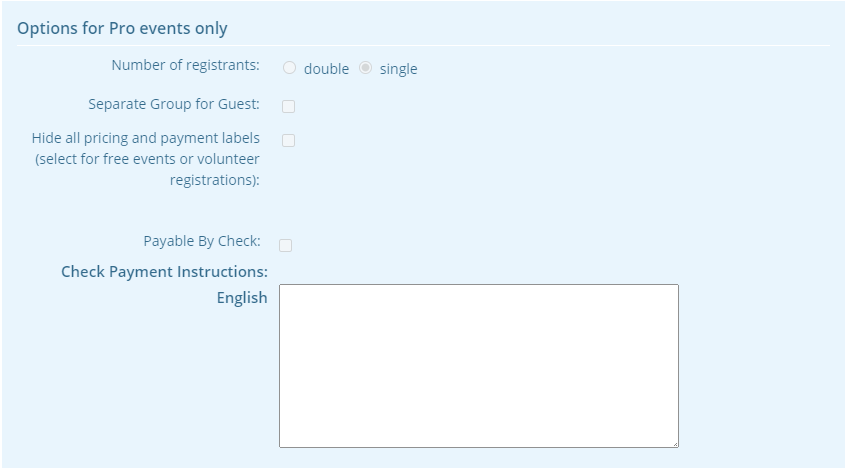
- Number of Registrants (single): Indicates that only one person will register for the event.
- Number of Registrants (double): Indicates that two people will register for the event, i.e. Member + Guest.
- Separate Group for Guest: Identifying and creating customized pricing for non-members of the club.
- Hide all pricing and payment labels: Typically setup for free events; this option will hide any pricing or payment labels.
- Payable By Check: Indicates that user(s) can pay for the event by check
- Check Payment Instructions: Instructions to the user indicating what they need to put on the check
Save Button: After all the Information is entered in fully, the Save button can be selected. When saved the message will appear at the top of the page to confirm that the information has been saved. This will also reveal the Events Contacts section.
Events Contacts: This allows the user to setup a contact for the event that can answer email questions. More than one contact can be specified. Once Add new Contact is clicked a form will be revealed.

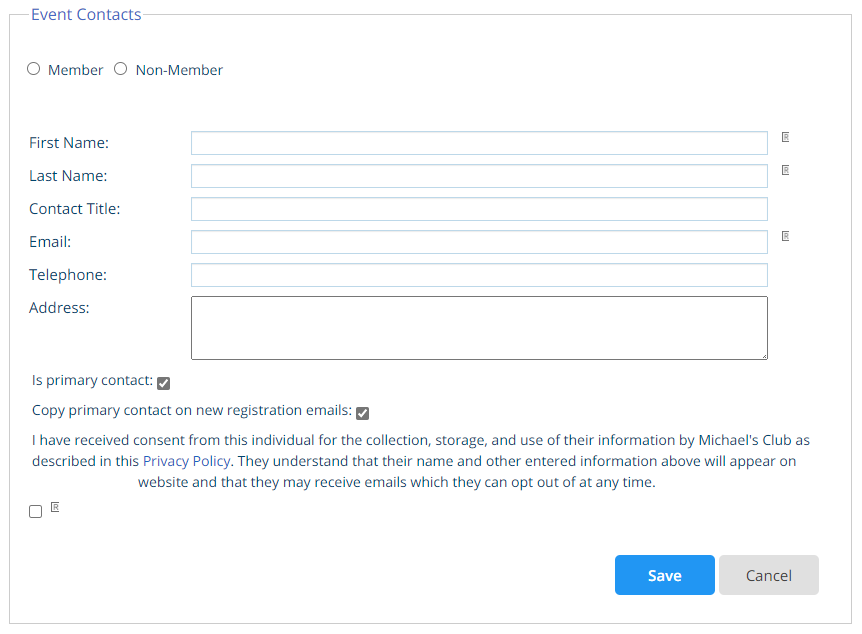
Is default contact: When checked this will be the main contact for the event. When a contact is saved  will appear under the specified contact. Once completed the Save link can be selected on the right side of the page.
Once a contact has been saved, the section will change to look like the image below. You will notice that the Add new contact section has reappeared on the right side of the contact information.
Edit: Allows the event organizer to make changes to an added contact
Delete: Removes an added contact
Set Default: This command (when clicked) will change the default status between multiple contacts.
Step 2: Design and customize your form:
Within this section the event organizer can select between the different form designer options to begin configuring your event and how it appears on the site.
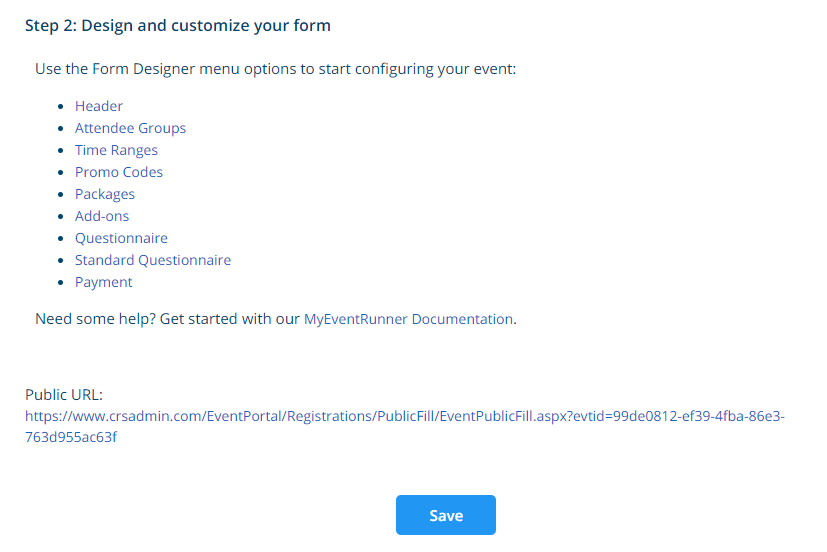
Public URL: The link supplied is the address of the Event being created. It can be used to preview the registration form. Please note that the site will not be viewed until the time specified as the Start Date.
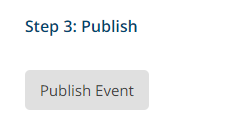
Step 3: Publish Event
This button will apply the created form to the website. Also, note that public URL cannot be viewed until the website has been published.