You can create a Footer for the website. This gives you the ability to have the same content at the bottom on every web page on the site. You can access the Manage Footers page at any time to create new footers or edit existing ones.
1. To access the Manage Footers page, you must first login to the website. Then, click on Member Area.
2. Click on the Website tab on the grey menu bar near the top.
3. Then select Designer Home on the blue menu bar.
4. Click on the Footers link on the left side of the page under the Designer heading.
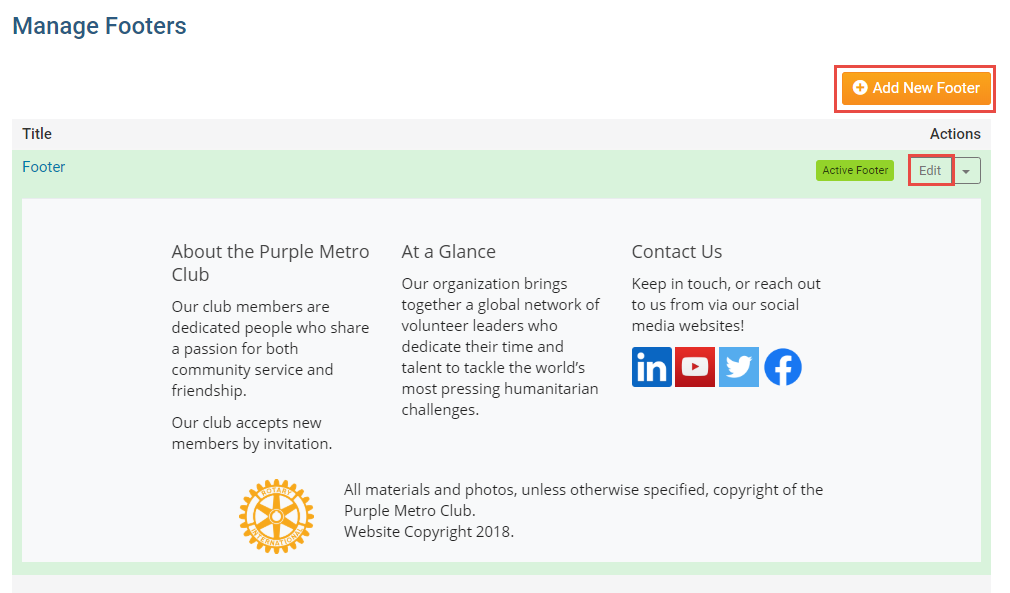
5. You are now on the Manage Footers page, where you may preview and edit existing Footers (if any) or create a new one. To create a new Footer, click on the Add New Footer button near the top right.
Edit a Footer - If you would like to edit a Footer, click on the Edit button to the right of the footer.

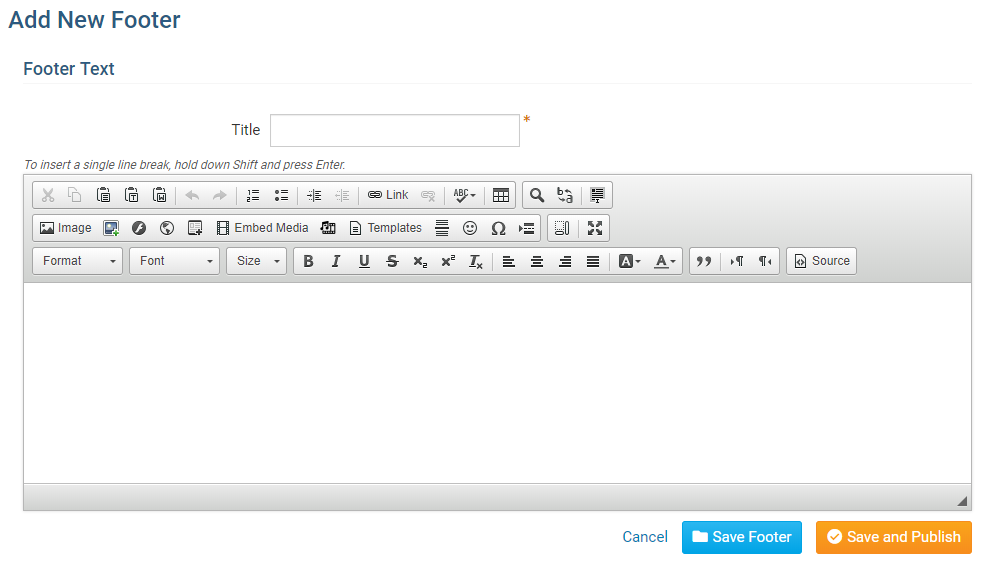
6. After clicking Add New Footer or Edit, you can enter or change the Title of the Footer. Then you can use the Online Editor to create or Edit the content. To learn more about the Online Editor, please read the article named Explain The Online Editor/Tool Bar.

7. Once you have finished making the Footer, you can click on one of the following options:
Save and Publish - Saves the footer and makes it appear live on the website.
Save Footer - Saves the footer and does not makes it appear live on the website.
Cancel - Cancels the changes you did.
