The following steps will provide you with the ability to add a PayPal button to ClubRunner.
Note: The directions below embed a simple PayPal button on a your page. ClubRunner does not support third-party forms for security reasons. This means you cannot direct embed PayPal drop down menus or “Add to Cart” features onto a ClubRunner page. Similar features can be created using the ClubRunner Event Planner and MyEventRunner tools in conjunction with our eCommerce module for credit card payments. Alternately, you may choose to create and host a site of your own with a PayPal shopping cart and other features. You can then embed that site into a ClubRunner page using iFrames. Note also that ClubRunner cannot provide technical support for a third-party service. If you have more questions, please submit a ticket to our support team.
1. Login to your ClubRunner Site.
2. Select the Website tab and then click on the Website Designer link on the blue menu bar just below.
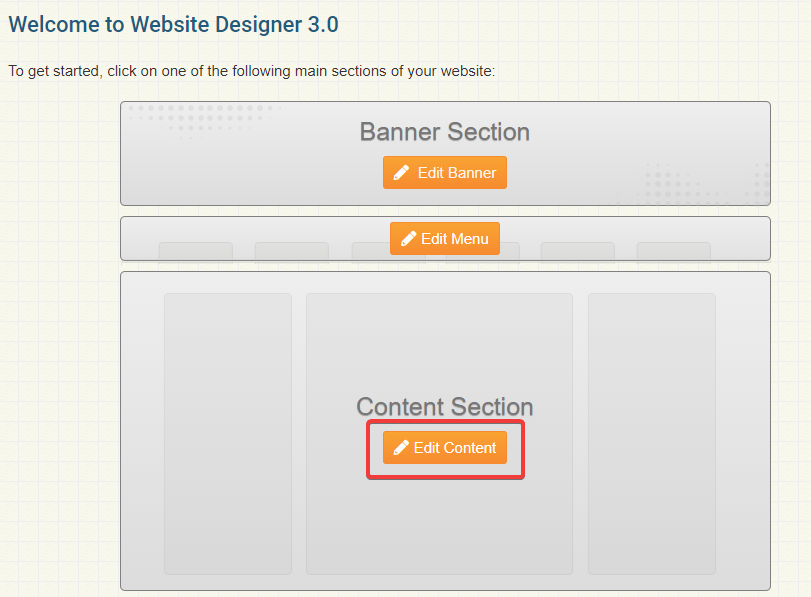
3. Next click on the orange Edit Content button.
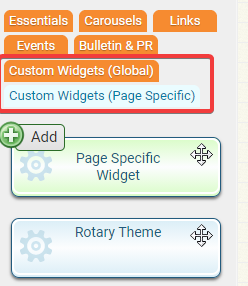
4. Select the orange Custom Widgets (Global) or Custom Widgets (Page Specific) tab on the left side.
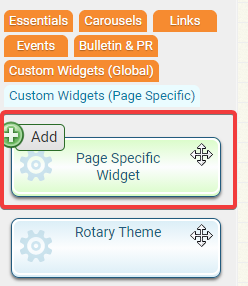
5. Now drag and drop the Global Custom Widget/Page Specific Widget into the template area on the right side.
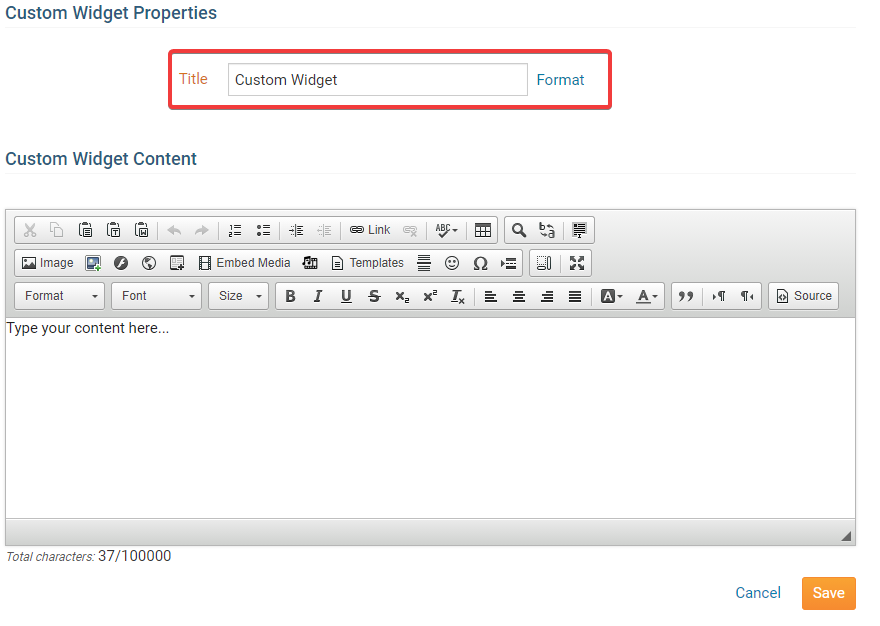
6. Once you drop the Global Custom Widget you will be taken to the editor. Give the custom widget a title.
 7. Now COPY the Pay Pal code.
8. In the Custom Widget editor menu tool bar click on the Source button.
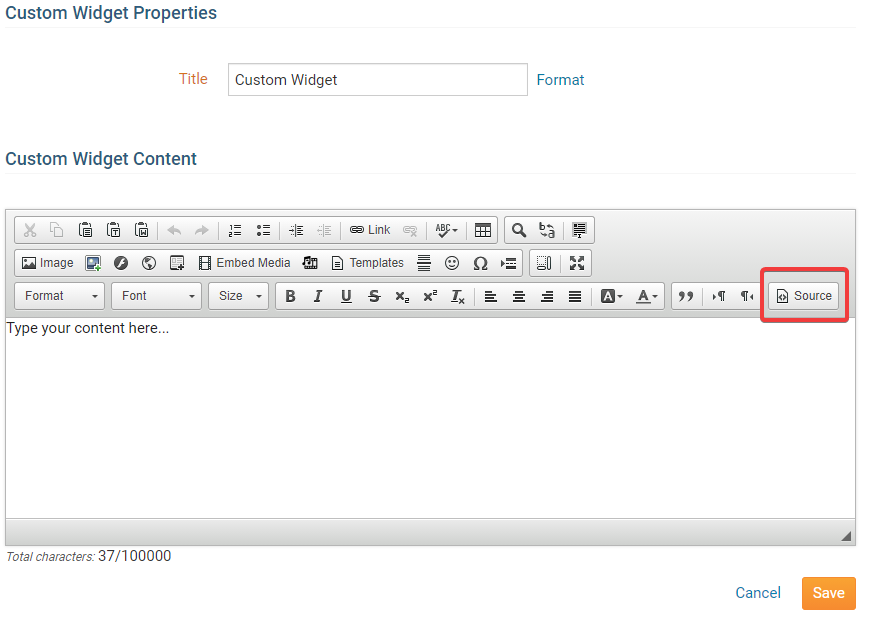
9. Now click on the Save button found in the bottom right corner.

10. Now back on the Widget Selection screen click on the orange Publish button found in the top right corner.

11. Now click on the Home button found in the top right corner to go to the homepage and preview the new pay pal widget.
Note: If you go to the homepage and do not see your changes try press the “F5” on your keyboard to refresh the screen.
