Keeping track of non-member guests can be time consuming and difficult. With Events, you can register your guests as well as yourself.
1. To access the Events , you must go to your district's homepage and log in. Then, click on Member Area on the top right.
2. Along the top of the screen you will see several tabs. Click on the Events tab on the far right of the top toolbar.
3. At the left side of the screen, options will appear. Click on Event Planner.
4. You are now on the Events page. Select the event for which you wish to register and click on the name.

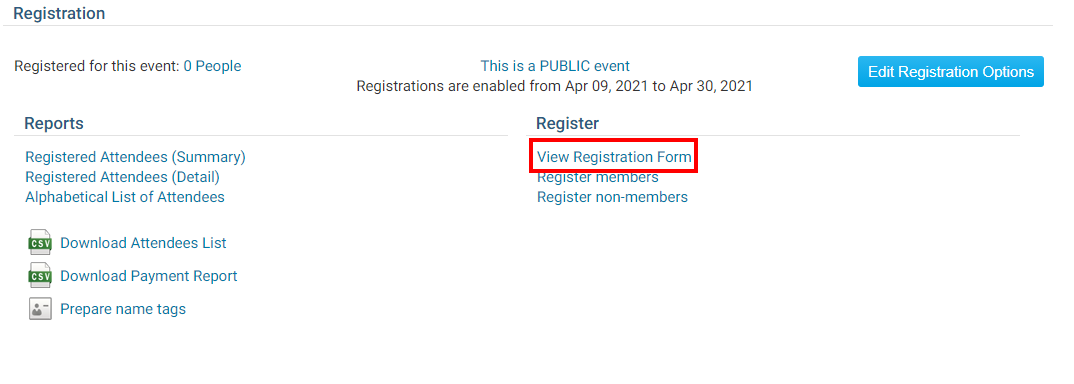
5. You are now on the Event Services Page, which outlines the details of the event and provides links to event tools. Just below the details is a shaded box labelled Registration. Click on View Registration Form.

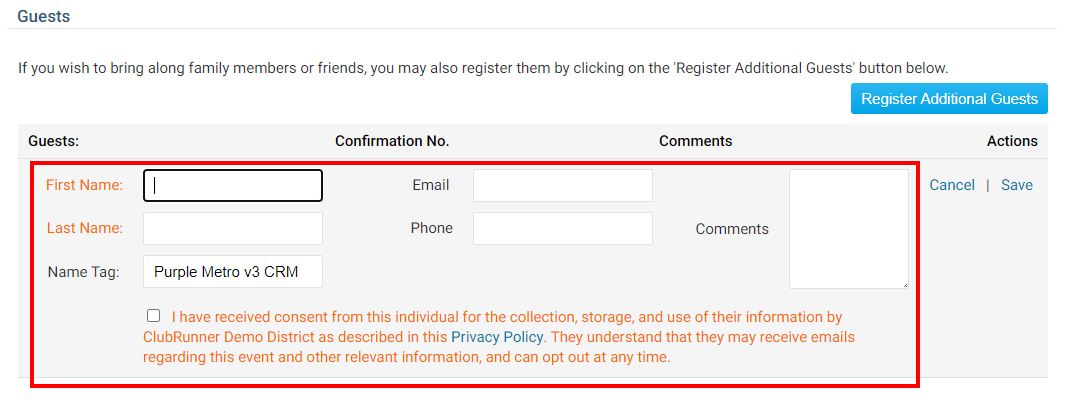
6. The View Registration Form tool on the Event Services Page also allows users to invite non-member guests (such as spouses, children, speakers and friends) to the event. If there is a fee for the event, the cost for each additional guest is placed on your account. Under the heading Guests, click on Register Additional Guests to register a non-member.

7. You may now enter contact details for the guest in the text fields provided. The First Name and Last Name fields must be entered before you guest can be added.

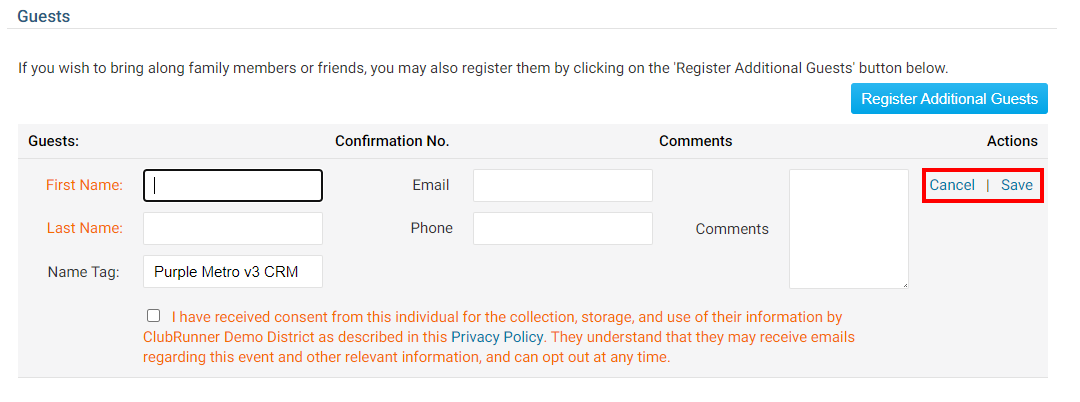
8. When you are finished adding contact details for your guest, click Save to add them, or Cancel to discard the details you just entered.

9. If you need to edit the guest's contact details, or remove their registration, you can do so from the View Registration Form window at any time. Simply click on the pencil icon next to the guest's name to Edit their details, and the recycle bin to Delete their registration.


