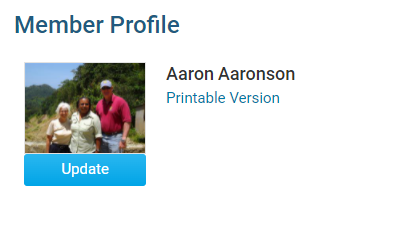
You have the option to upload your own photo/picture to your member profile. This photo will be visible to your fellow club members and is a good way to match faces to names.
-
To access your profile for editing, you must go to your club's homepage and login. Then, click on Member Area near the top right.
-
Along the top of the screen you will see several tabs gray tabs. Click on the My ClubRunner tab.
-
Next, click on the My Profile link under My ClubRunner.
-
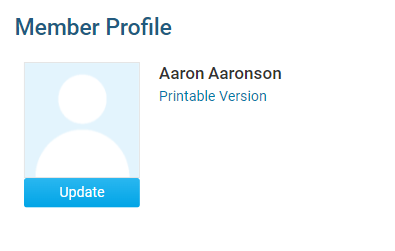
You are now on your Member Profile screen, where you may edit your personal data. At the top left of this screen, under the heading Member Profile, you will see an image. If you (or your site administrator) have not yet uploaded an image, this will be a default member icon, as displayed in the example below.
-
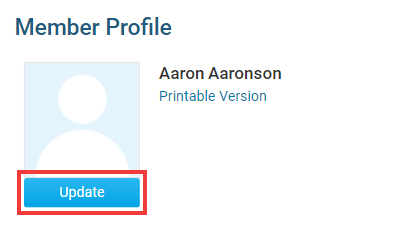
In order to change the image and upload your own picture, click on Update just below the image.
-
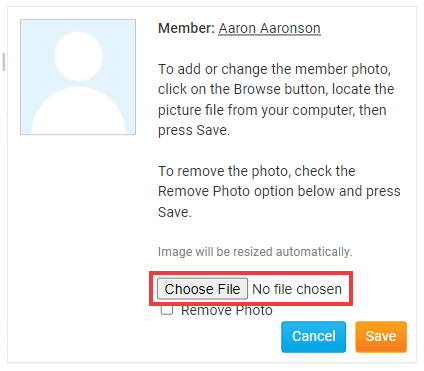
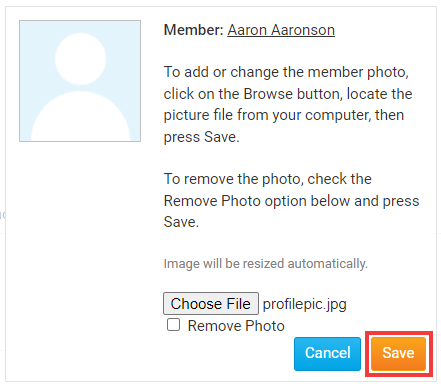
When you click Update, a pop-up window appears. Select Choose File to choose a new image.
-
You may now browse your computer for an appropriate image. Your image will be automatically resized to fit the box when you upload it. Once you have selected an image, click Open. *gif, jpg, & png are the only supported file types.
Note: As the image box is fairly small, it's a good idea to select a headshot or other closeup image that will be still be clearly visible after resizing. -
If you are happy with your selection, click Save.
-
You now have a custom member profile photo. You can change this profile photo again at any time by following the steps above.
