Inside of Event Planner you can send two different types of emails. These emails allow you to either send out invitations for the event to your club members, or send general communications to your event registrations. Please follow the steps below to send out invitations and emails for your event.
To access Event Planner and send out emails, you must go to your website’s homepage and log in. To do this click the Member Login link near the top right of the home page.
After you enter your login name and password it will return you back to the homepage. Click Member Area near the top right.
Along the top of the screen, you will see several tabs. Click on the Events tab, and then click on Event Planner.
You will then be brought to the Event List page, where you will be able to see each of your existing events. Click on the Open action for the event you wish to send out an email for.
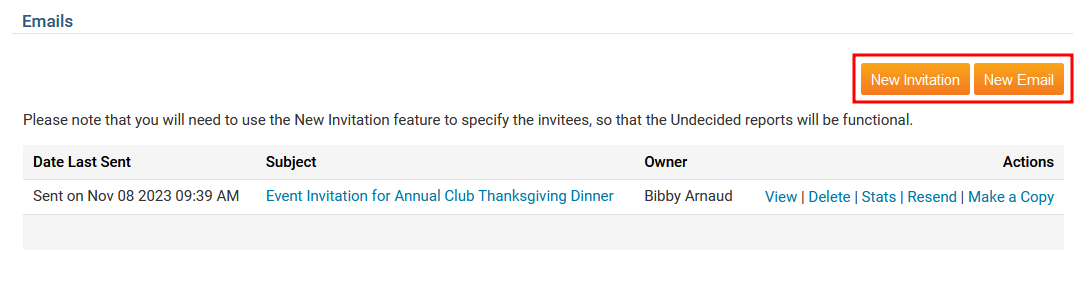
Scroll down to the bottom of the page, where you will see the Emails section. This will display a list of emails and invitations that have been sent out for this event.
Click on the New Invitation or New Email button depending on which type of email you wish to send out.
New Invitation - Allows you to create an invitation, sending an email which allows individuals to register and RSVP for the event.
New Email - Creates a new standard email, allowing you to send emails to invited individuals, or simply members of your club.
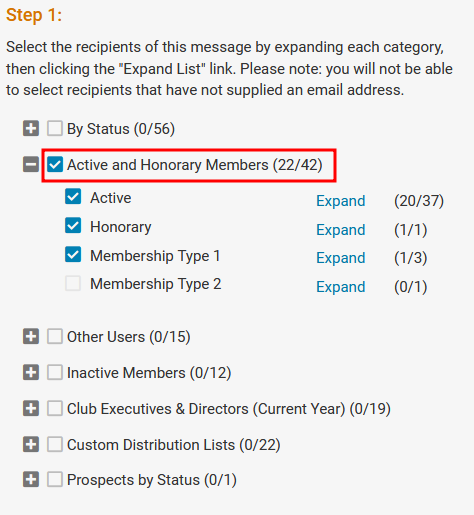
On the left hand-side of the page, under Step 1, you can select the recipients of your invitation. You could expand the lists by clicking on the blue plus buttons. You can select individual members, or choose to send messages to everyone in a given list. There are several different groups you can choose from:
By Status - Undecided members or Uninvited members.
Active and Honorary Members - This displays the active and honorary members list.
Other Users - This displays the other users list.
Inactive Members - This displays the inactive members list.
Custom Distribution Lists - A list of the custom distribution lists.
Contact Groups - This displays a list of contact groups from the contacts area.
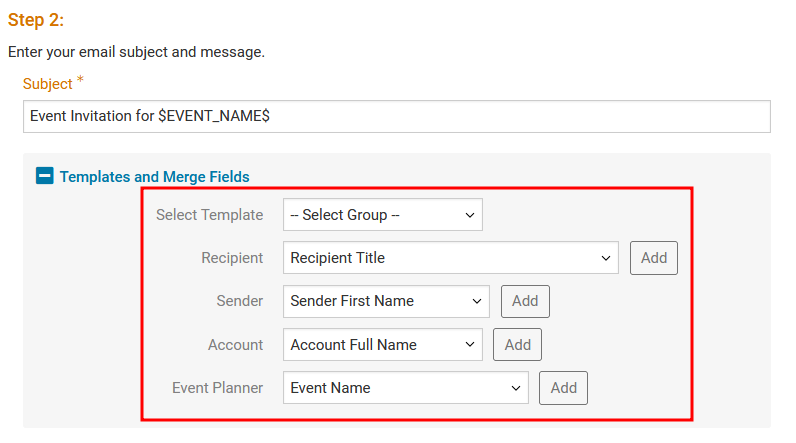
On the right hand-side of the page, under Step 2, we can begin to compose our email. First, you can enter the Subject line of your email.
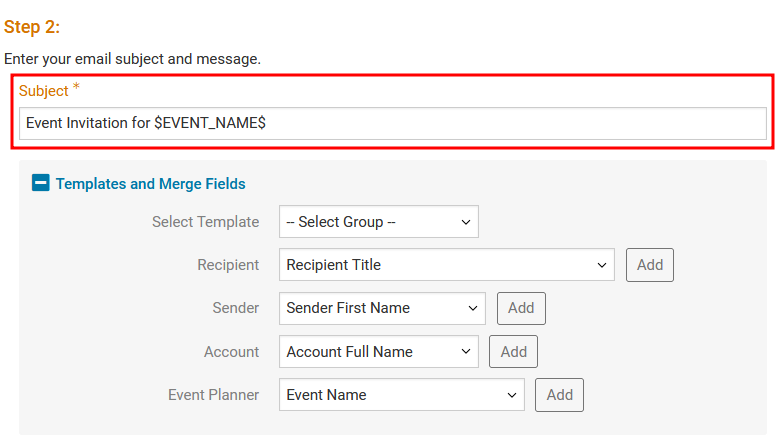
Next, you will see the Templates and Merge Fields section. For more information on how to use Merge fields, please click here.
Select Template - Allows you to import an email template into the email editor
System - Displays a list of default email templates provided by ClubRunner.
Custom - Displays a list of custom email templates created by the club.
Recipient - Merge fields which automatically insert information about individuals who receive the email.
Sender - Merge fields which automatically insert information about the sender of the email.
Account - Merge fields which automatically insert information about your club.
Event Planner - Merge fields which automatically insert information about the event. These merge fields are only available within Event Planner.
You can compose your email or invitation within the email editor, using the variety of tools available within the toolbar, including templates and merge fields.

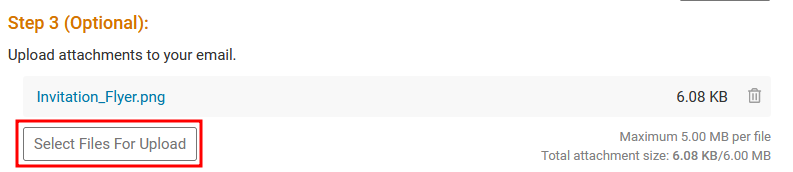
Once your email has been composed, you can now choose to upload any related attachments to be sent out with your email by clicking on the Select Files for Upload button.
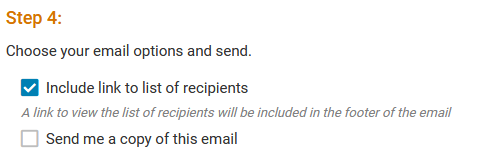
Under Step 4, you can choose to apply some additional options.
Include link to list of recipients - Appends a link to your email, which allows recipients to view a list of other recipients.
Send me a copy of this email - Allows you to send a copy of the email to yourself.
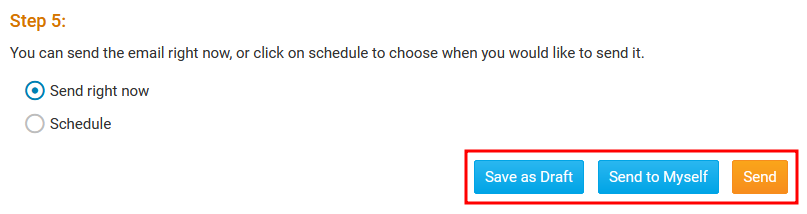
Next, you can choose when to send out this email:
Send Right Now - Immediately sends out the email once the Send button has been pressed.
Schedule - Allows you to select a specific date and time for the email to be sent out.
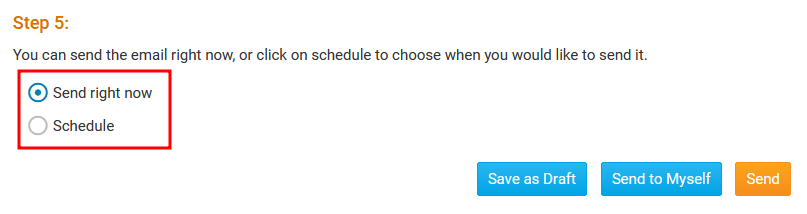
Finally, the last step is to send out the email. Along the bottom-right corner of the page you will find the following buttons:
Save as Draft - Saves your email as a draft, without sending it out. Allows you to save your work and come back to it later.
Send to Myself - Sends a test copy of the email to your own email address. Allows you to review what the email will look like when sent out.
Send - Sends a copy of the email to each of your selected recipients. If the scheduled email option was selected, it will be sent out on the specified date and time.