You can add additional tickets to an event. In order to register for an event, the registrant must select a ticket for their registration.
To access Cloud Events, you must go to your website’s homepage and log in. For more information on how to login, click here.
After logging in and navigation to the Member Area, you will see several tabs along the top of the screen. Click on the Events tab, and then click on Cloud Events.
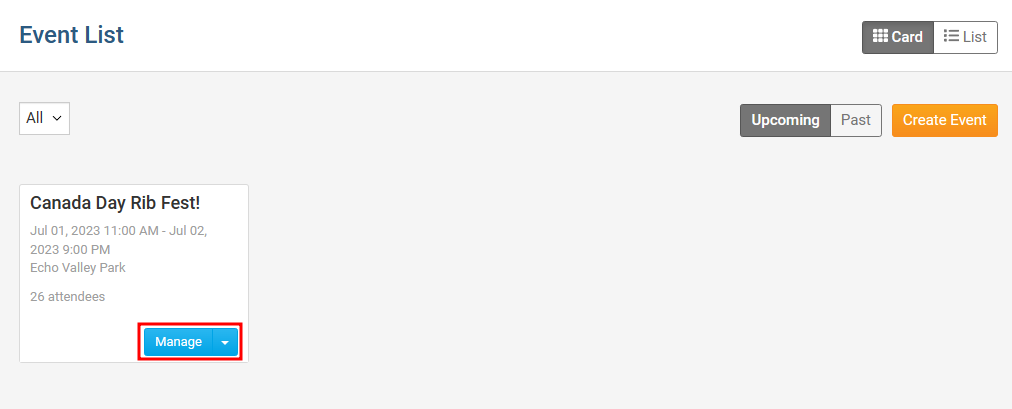
Click Manage on the event you would like to add the ticket to.
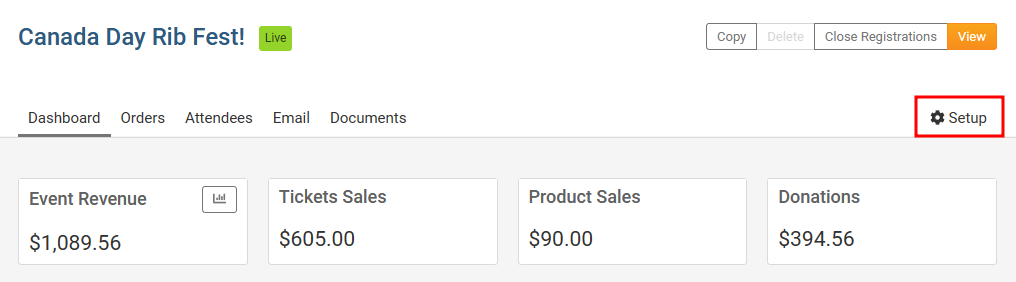
In the top right of the event, click Setup or the Gear icon.
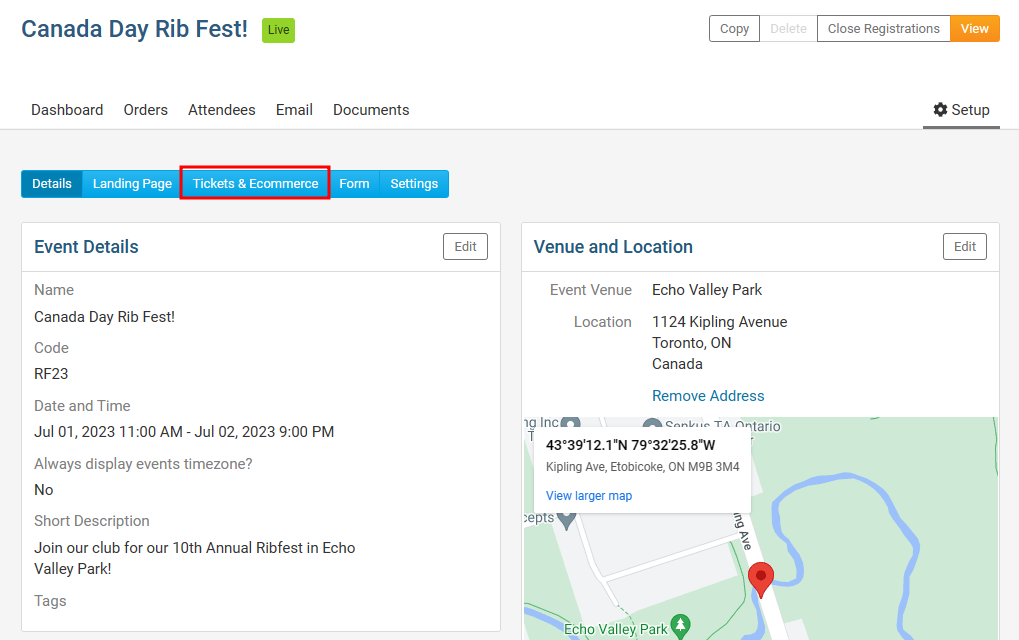
Near the top of the events page, click Tickets & Ecommerce.
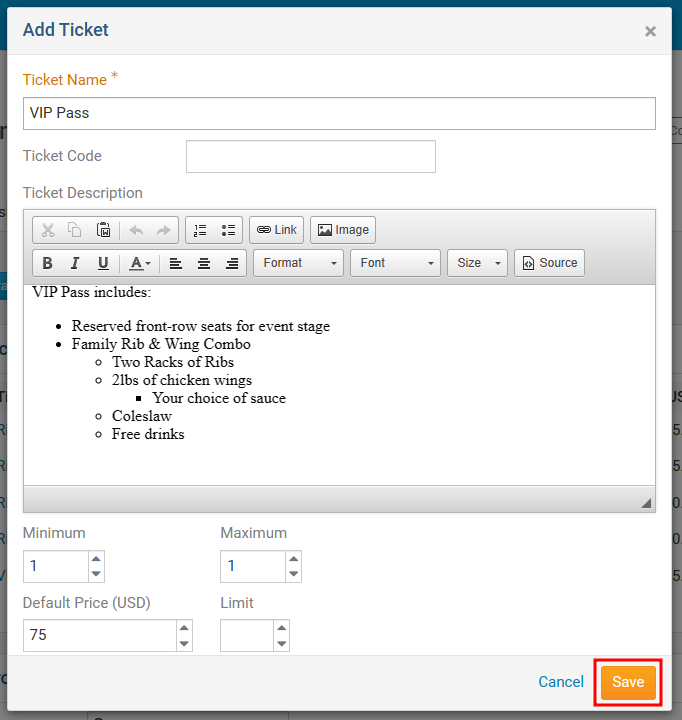
Click Add Ticket. In the Add Ticket pop-up you will have these options:
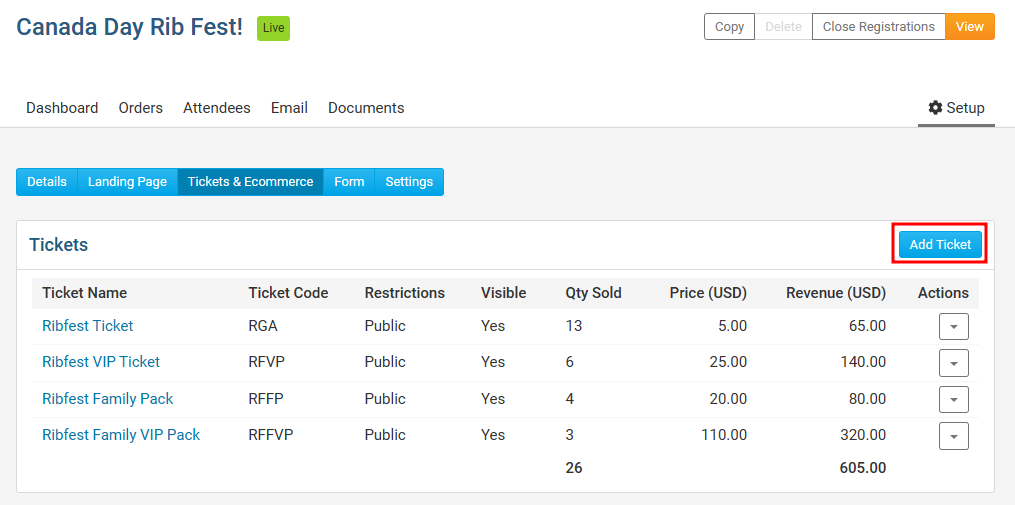
Ticket Name - The name of the ticket.
Ticket Code - This helps track the finances within the credit card processor's reports.
Ticket Description - The description of the ticket.
Minimum - The minimum amount of tickets a registrant must order to register for the event.
Maximum - The maximum amount of tickets a registrant can select for their registration.
Allow Public Registration - An option to allow non-members to be able to register for the event.
Default Price - The cost of the ticket.
Limit - The total amount of tickets available.
Prices - This allows different pricing for the tickets based on membership type. Click the + icon to set the price for non-members or different membership types.
Ticket Availability - The date range for ticket sales.
Starts on - The date when people can start to purchase tickets.
Ends on - The date when ticket sales will stop.
Click on the Save button to finalize and create the new ticket.